QR Code Sign Swap and Printer Removal (Combo Unit)
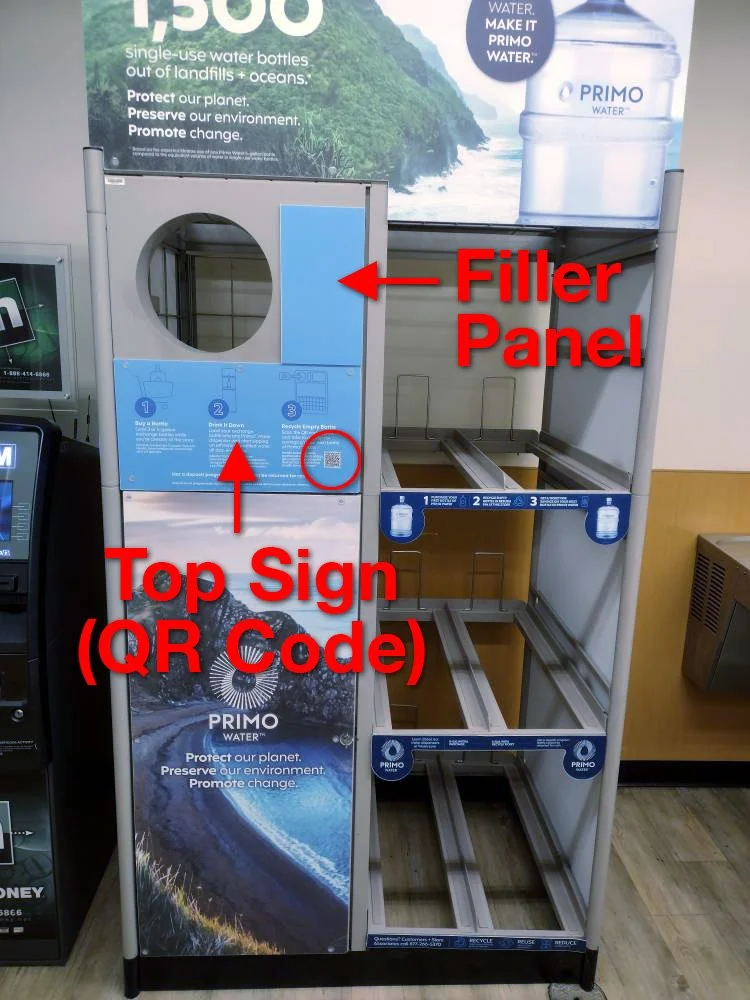
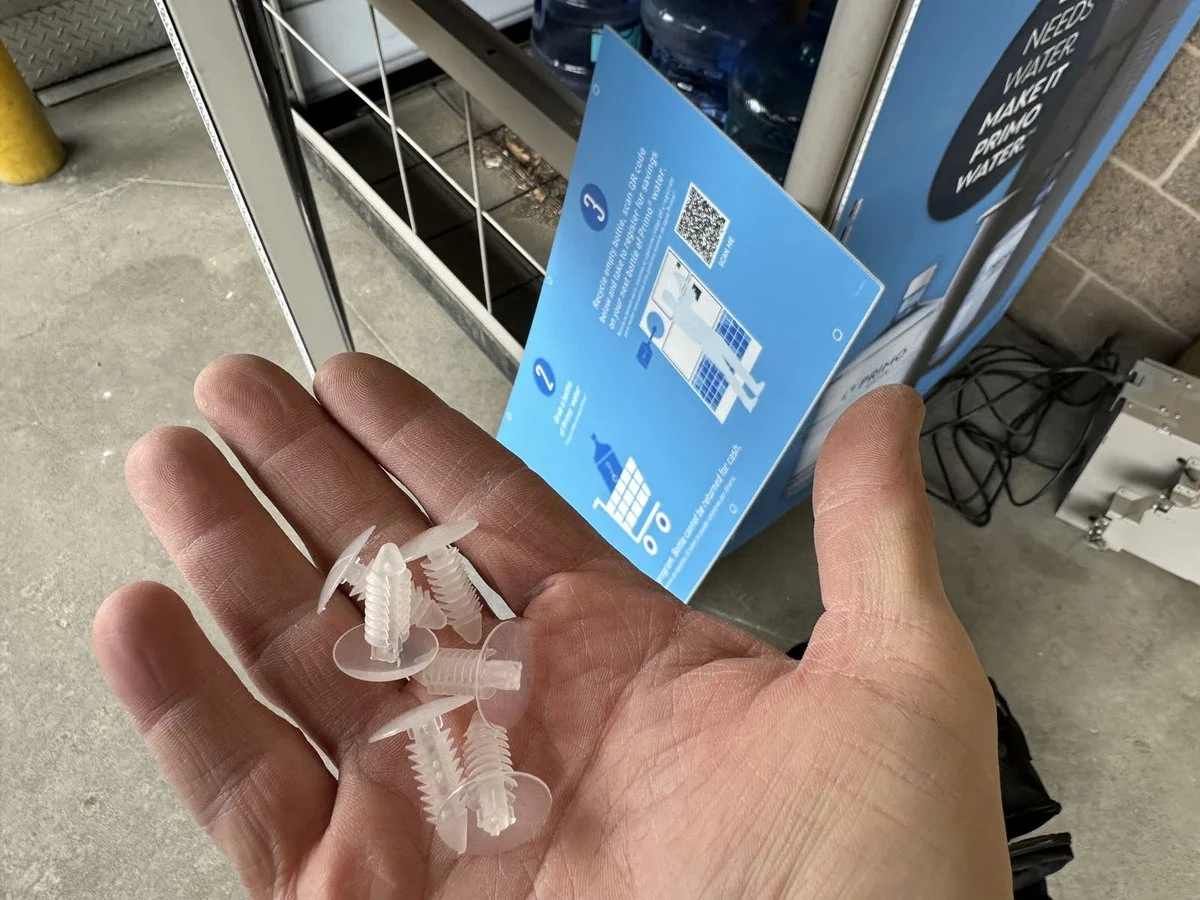
Provided in Shipment: Top Sign (QR Code), Filler Panel, (6) Push-in Clips.
Tools Required: 3/8” socket wrench, 6” socket extension, pliers, rubber mallet (preferred) or hammer.
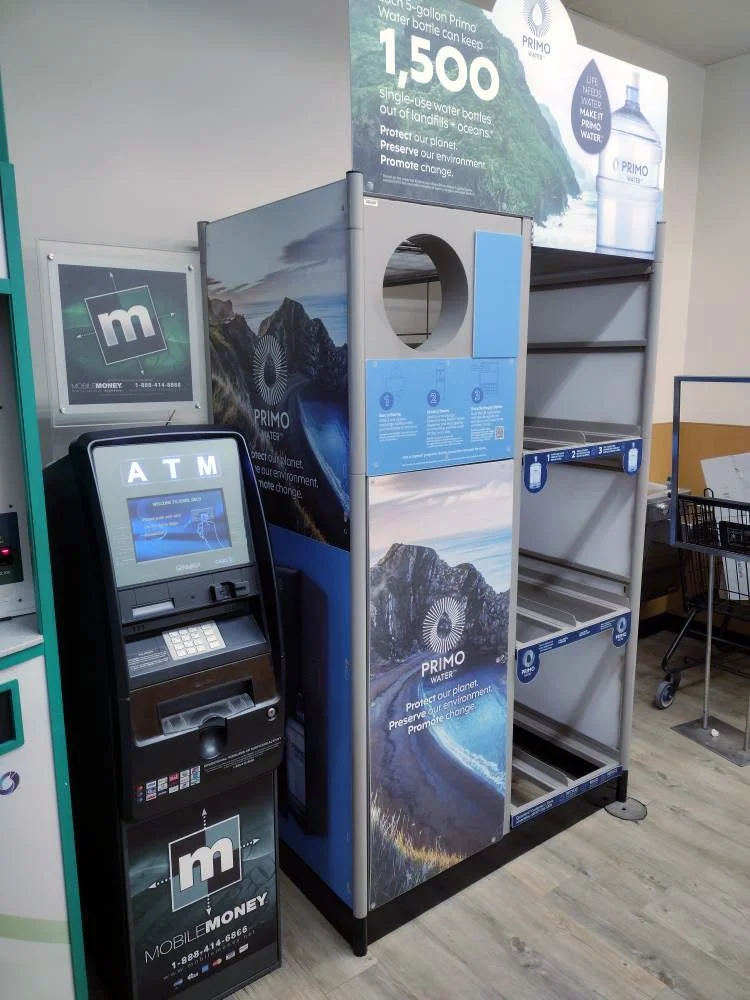
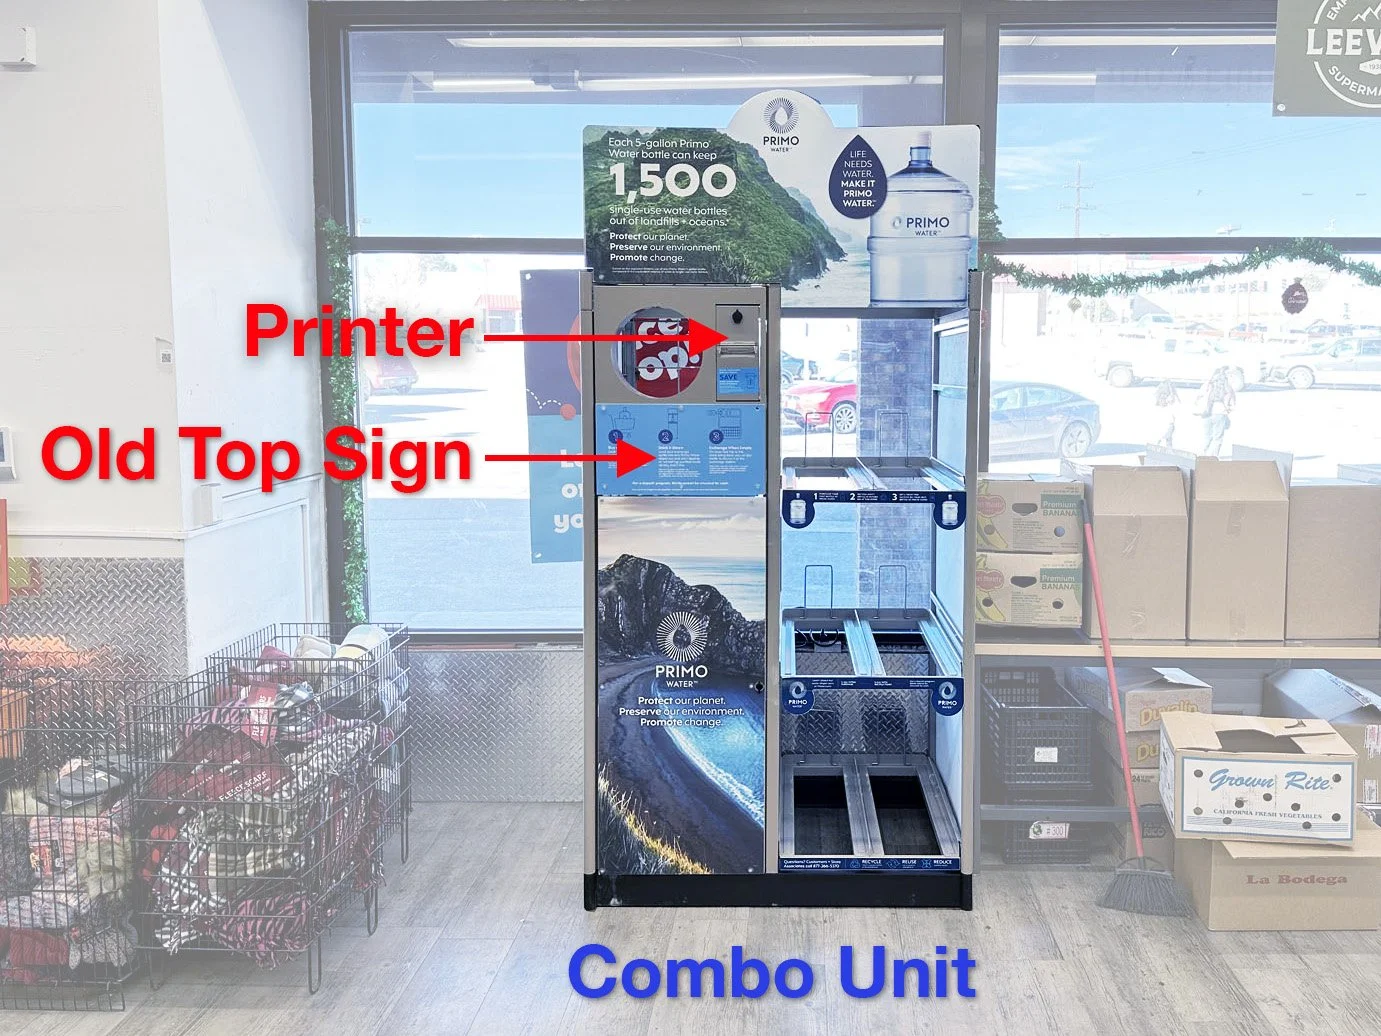
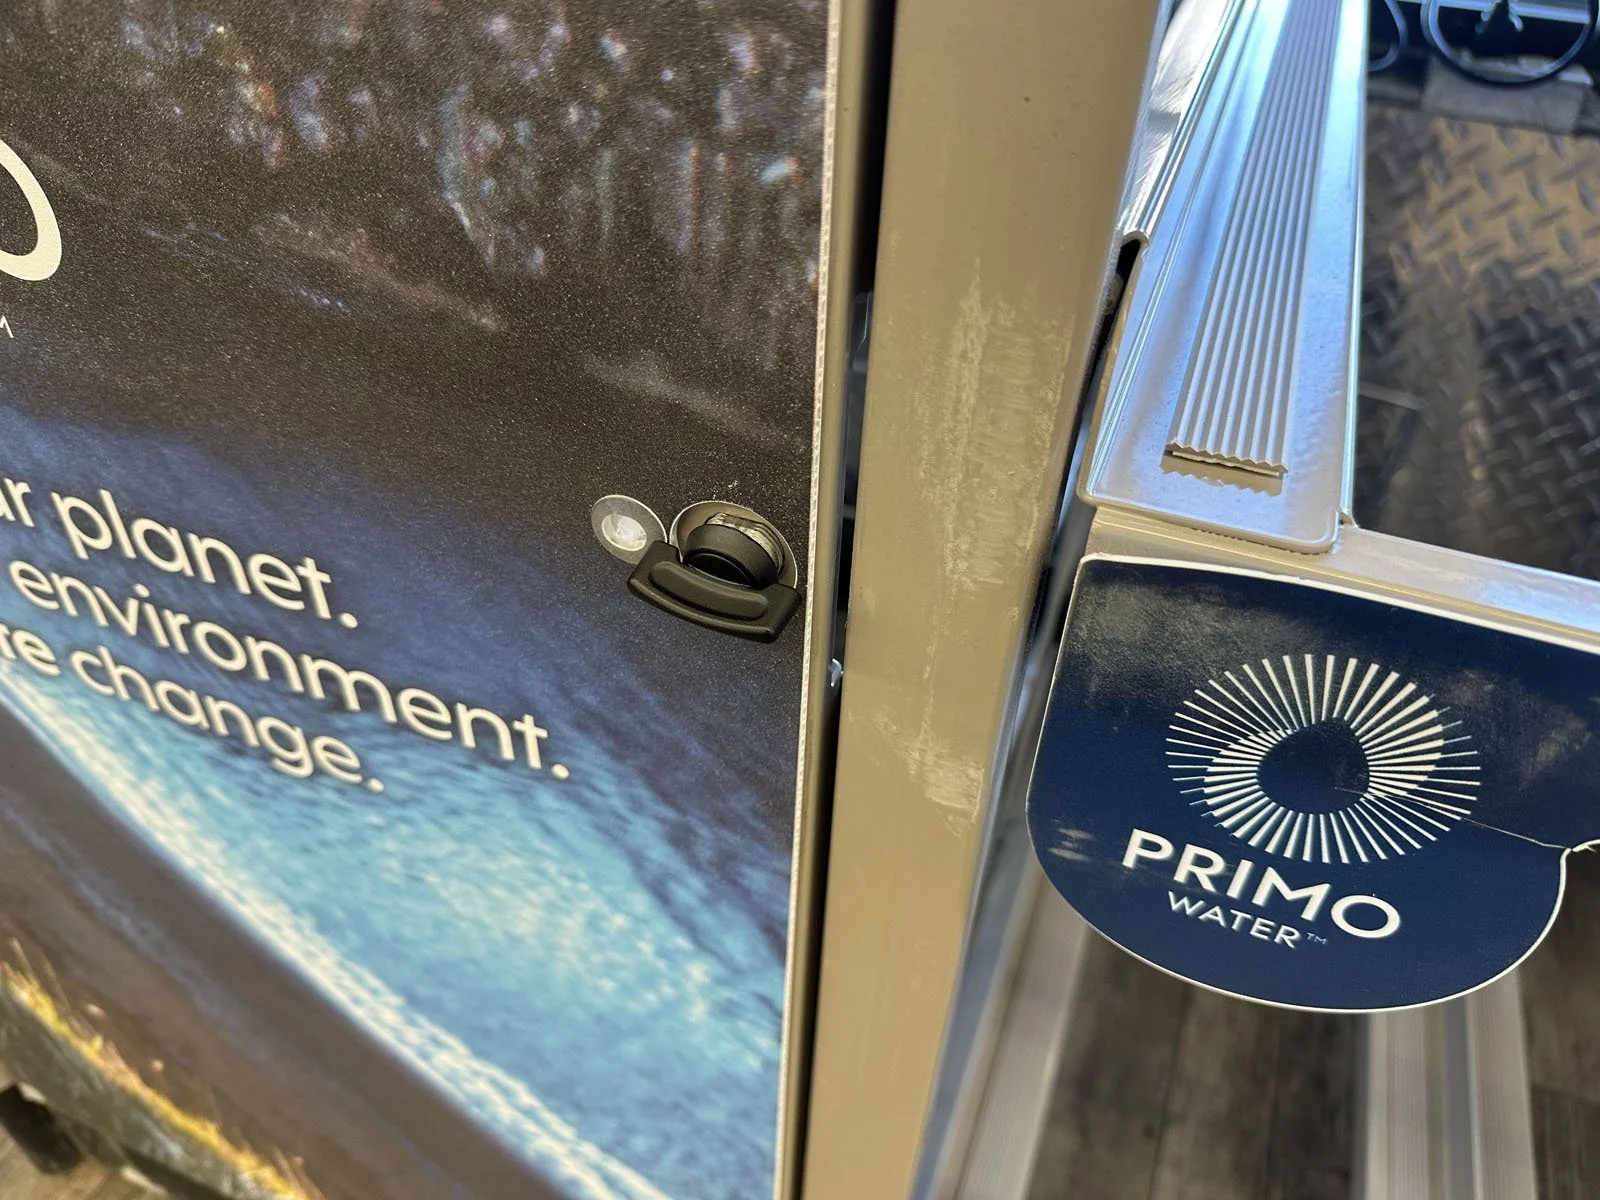
1: Find the PrimoWater Combo Unit with the old top sign (no QR Code on it) and printer. Combo Units are only located indoors, typically along the front wall of the store.
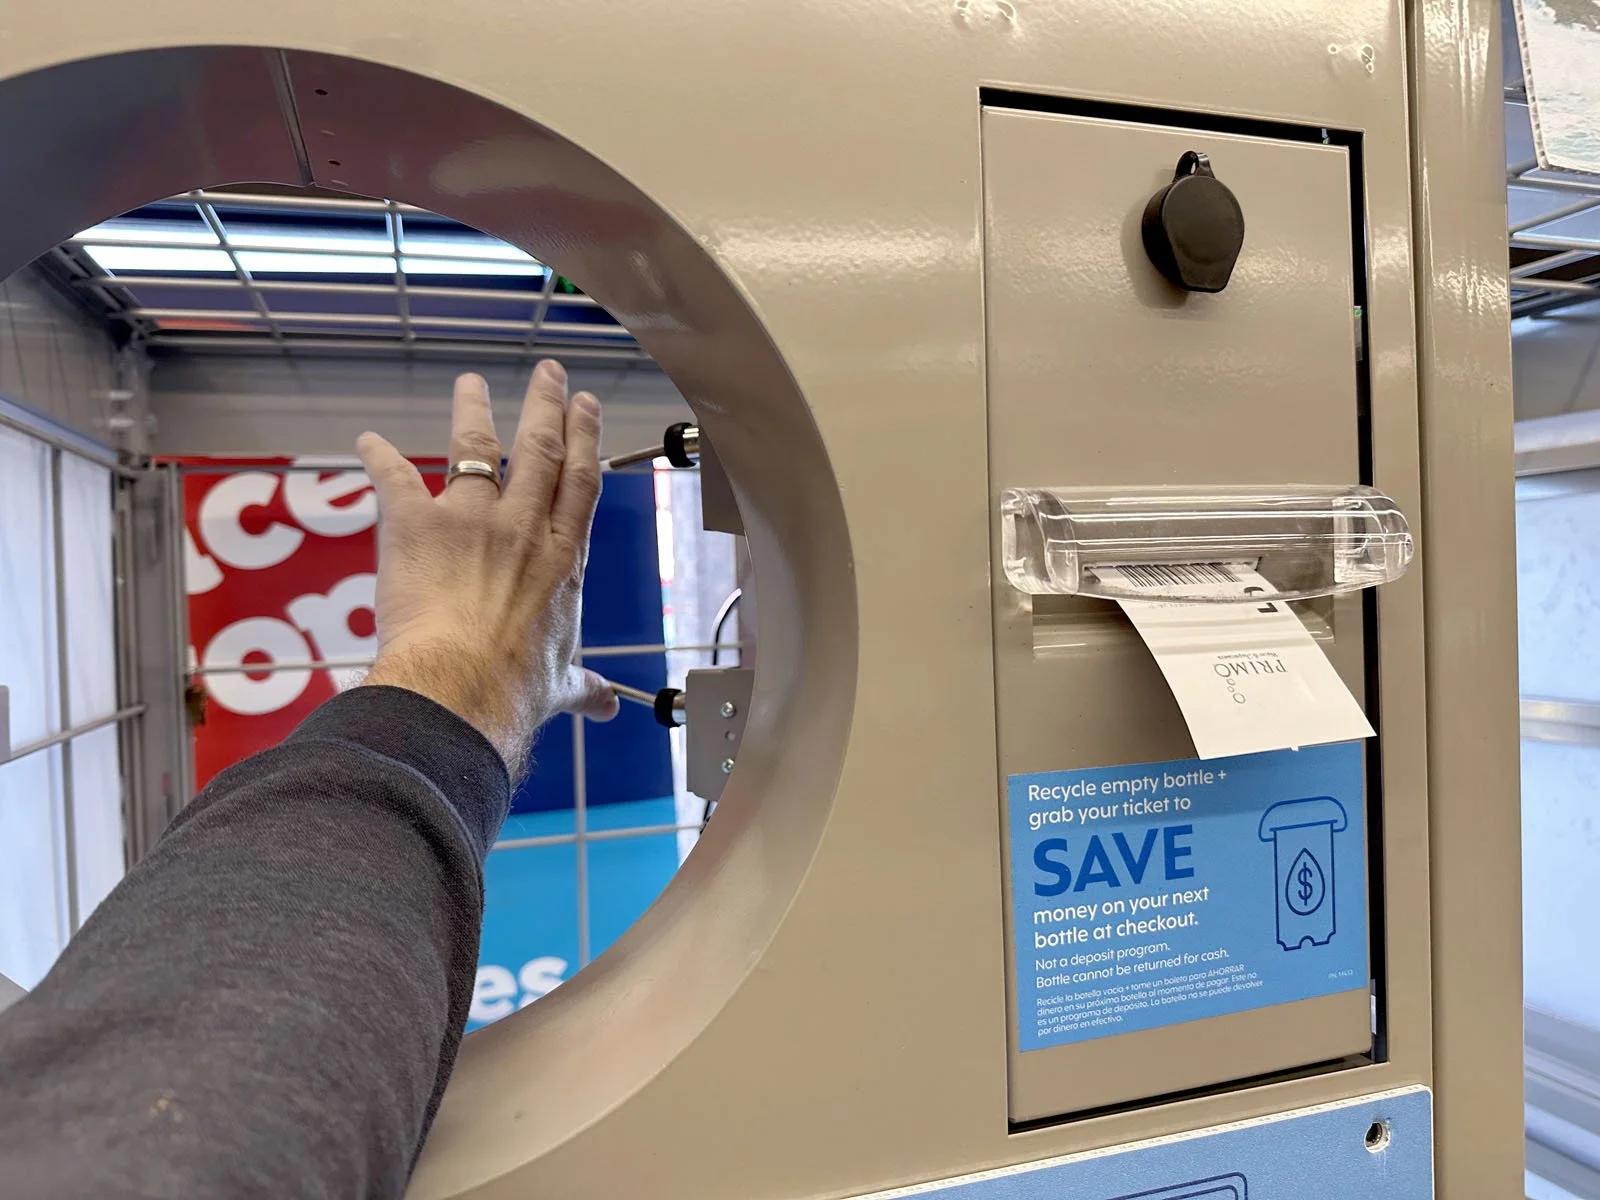
2: Determine if the printer is currently working or not by putting your hand in the return slot and push both actuators at the same time. If a receipt prints out, then it’s working. At the end of this process, there will be a question on your verification form if it was working - PrimoWater just wants to collect this data.
3: Unplug the power cable from the outlet.
4: Open the front door (just a latch, Combo Units should not have a lock on it). If there are excess empty water jugs inside the Combo Unit, you may need to remove them to access the printer.
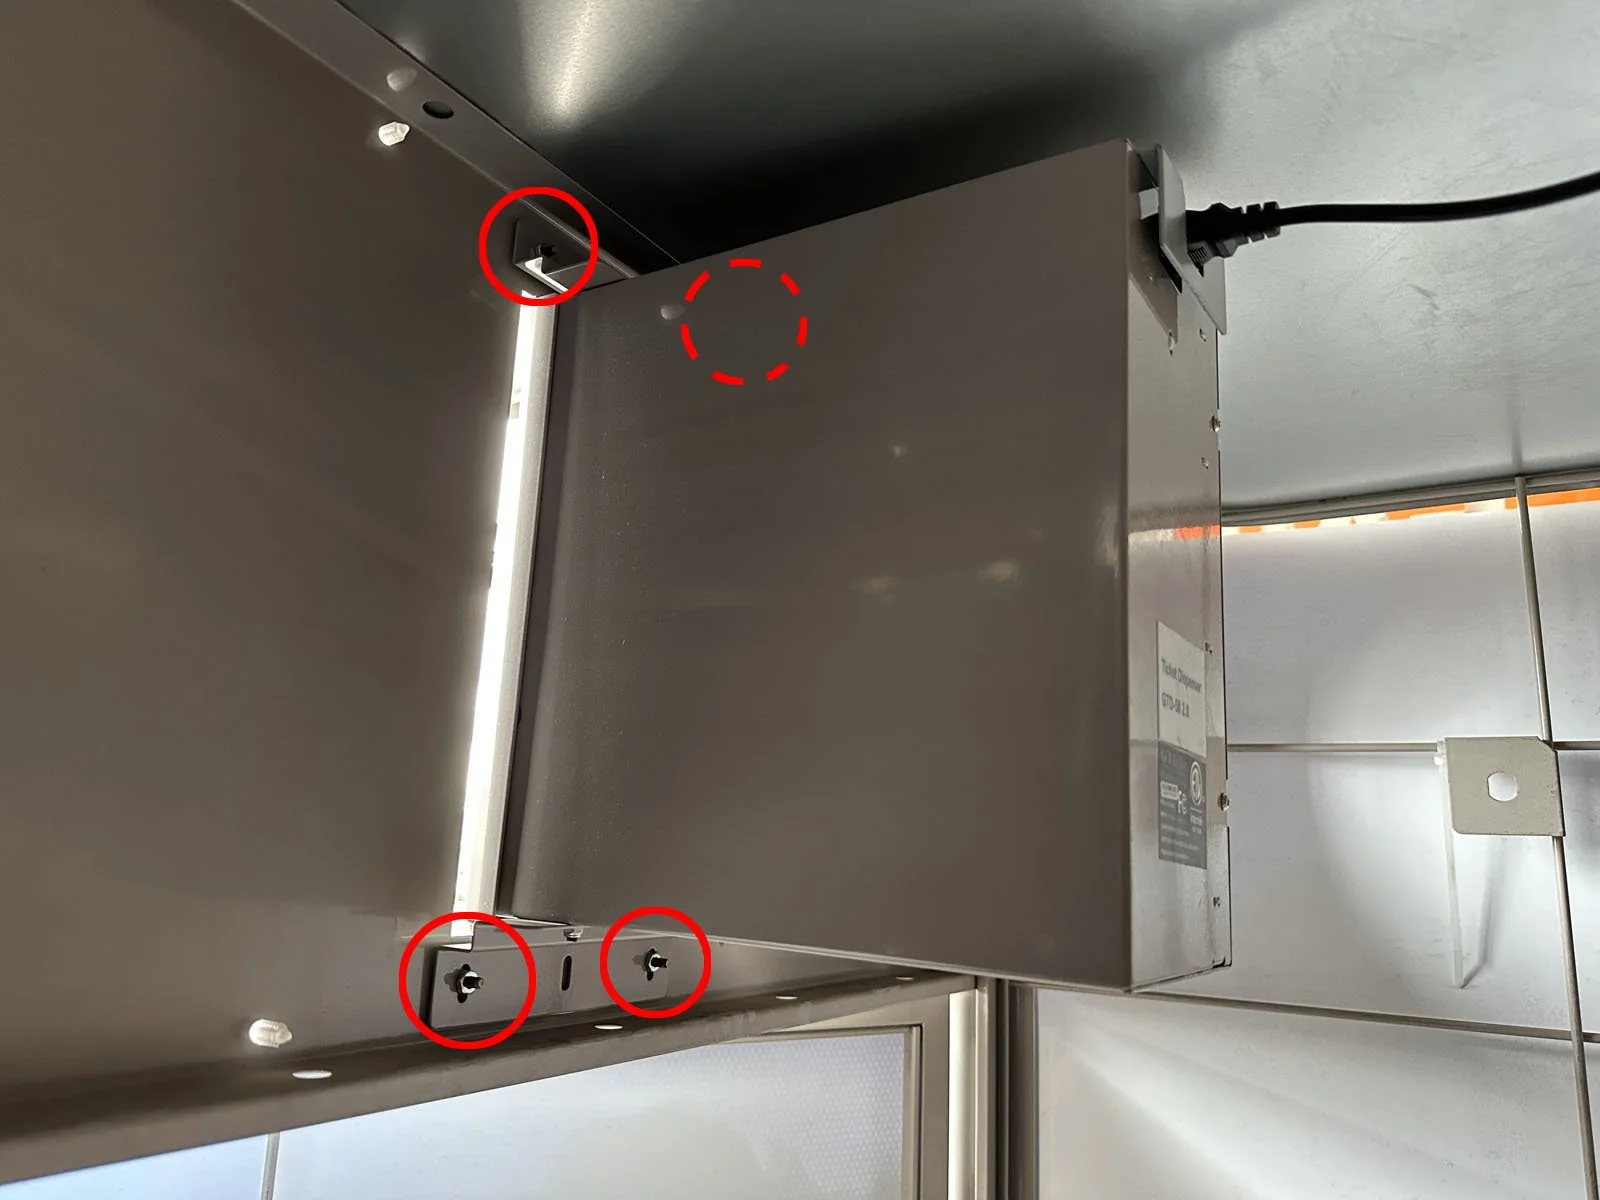
4: From inside the Combo Unit, remove the 4 nuts from the mounting bracket for the printer using a 3/8 socket wrench. You’ll need a 6” extension to reach the upper nut on the return chute side.
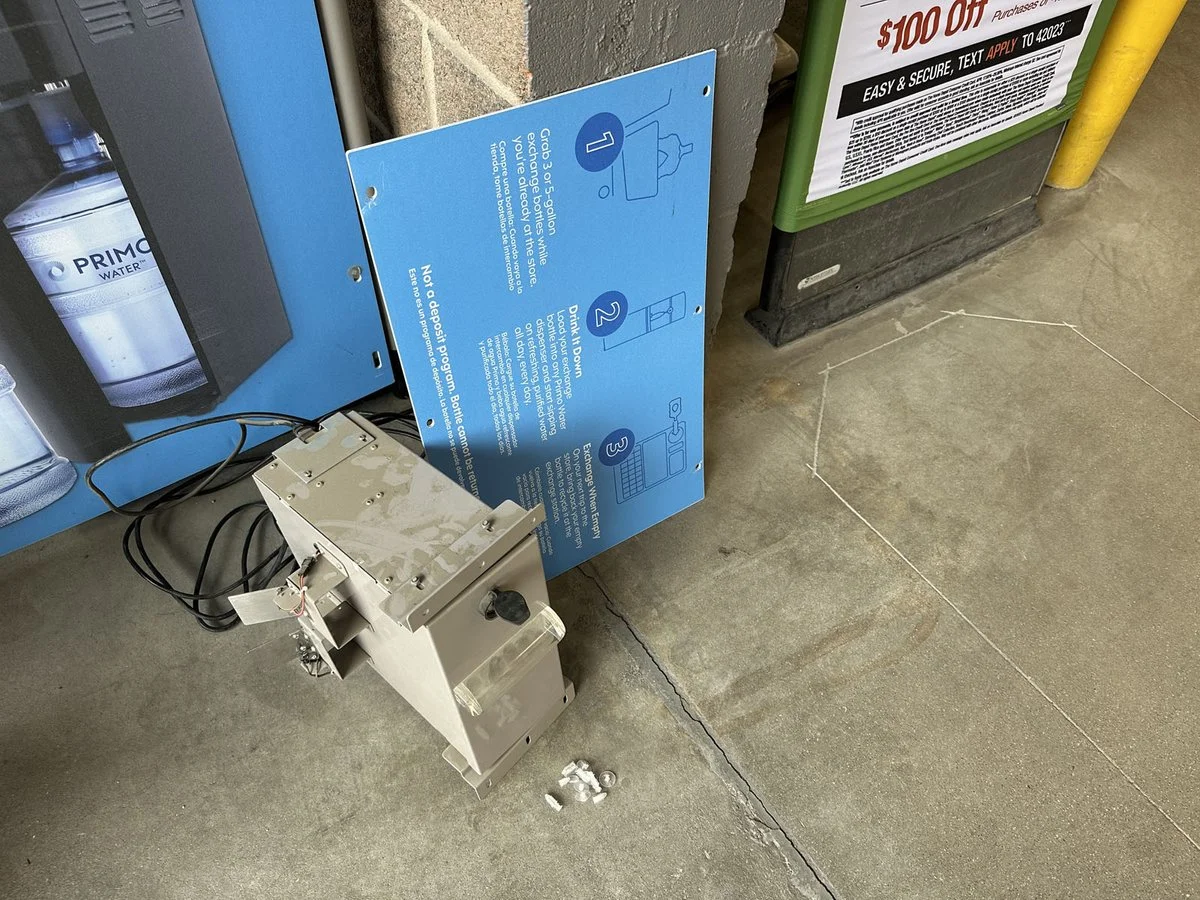
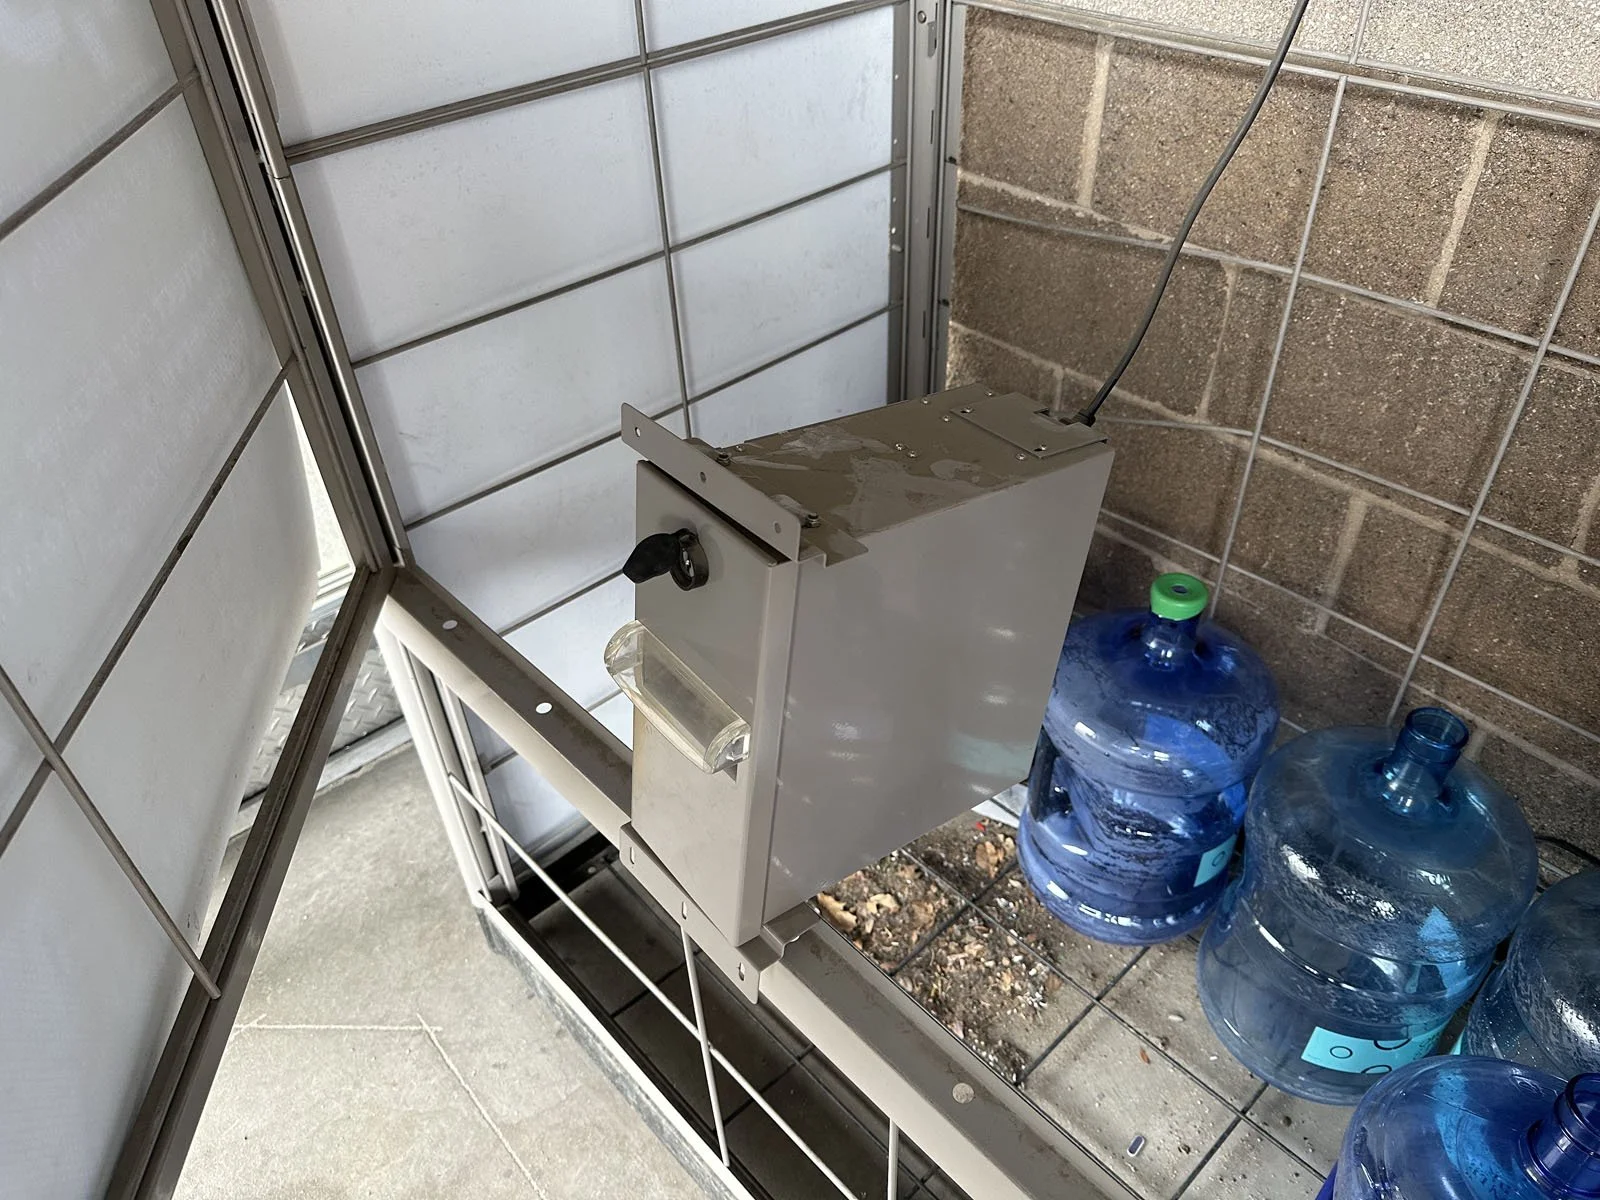
5: Remove the entire printer with mounting bracket and the power cable and set aside.
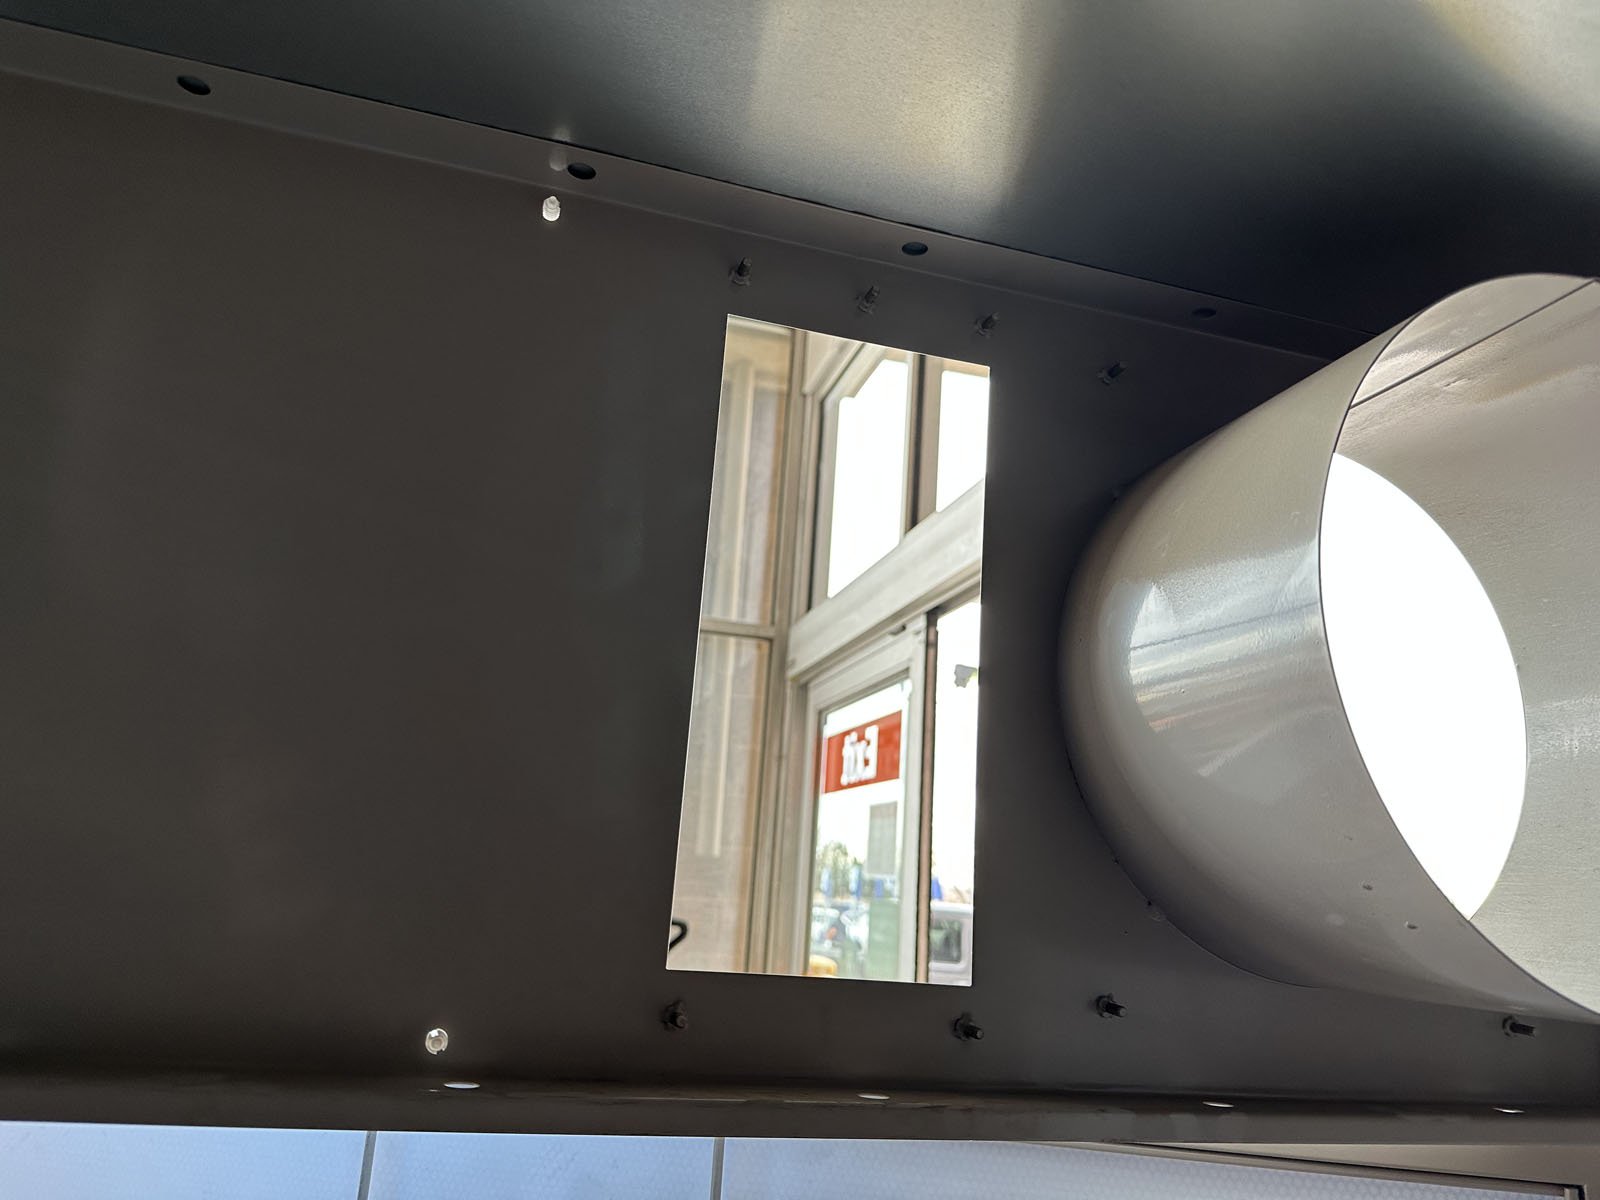
6: Install the blank Filler Panel over top of the hole where the printer was located. Use the double-stick tape on the back of the panel.
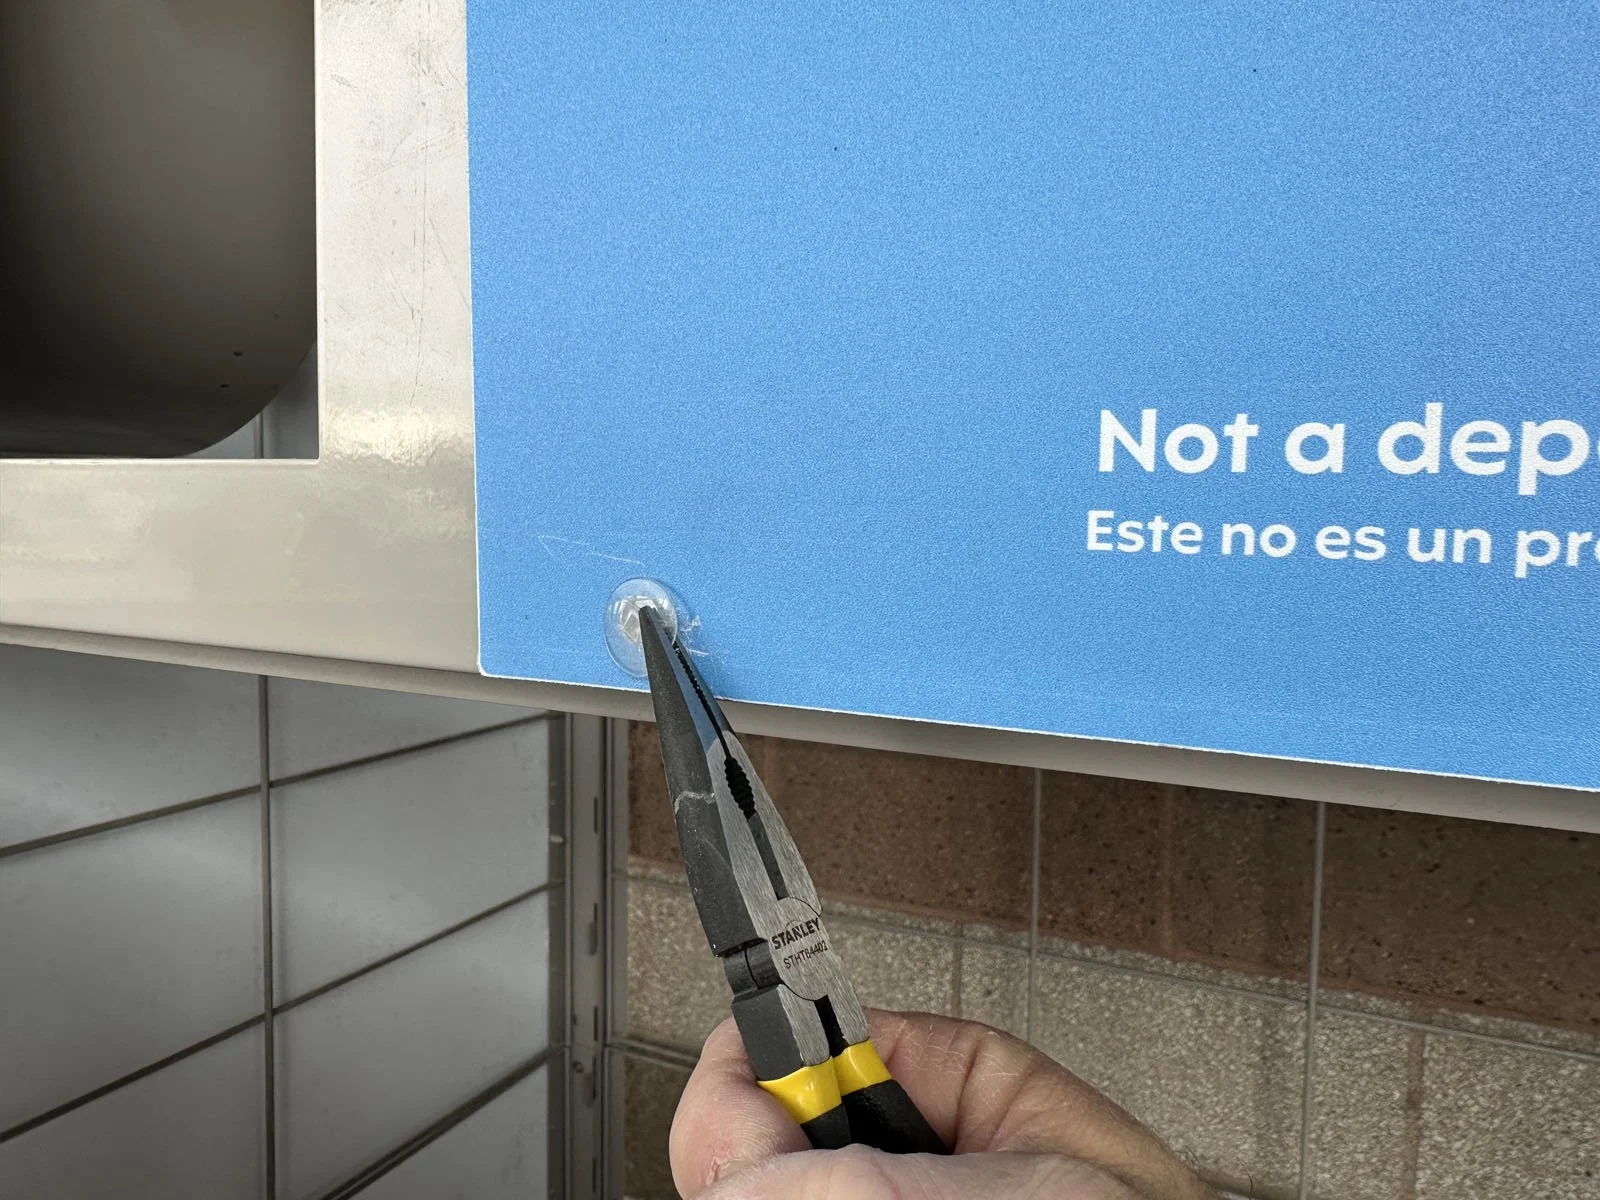
7: Remove the existing top sign by removing the 6 push-in clips. Tip: it’s easier to break off the backside of the clip first, then remove it.
8: Install the new Top Sign (QR Code) using the provided 6 push-in clips. If clips are difficult to push in, you can use a rubber mallet to gently hammer them in (be careful, the clips can easily break).
9: Shut the front door and close the latch. Don’t forget to put back any empty jugs if you removed them earlier.
10: Clean up the area. Dispose of the printer and old sign in the back of the store, typically in their receiving area.
11. Complete your Verification Form in FastField mobile app (Apple or Android). Your username and password can be found in Field Nation under the Buyer’s Custom Fields.
You’ll need a photo confirming the printer was removed. Tip: You can put your hand through the return slot and take a “selfie” photo looking back to show the printer removed. Or take a photo of the printer itself after it was removed.