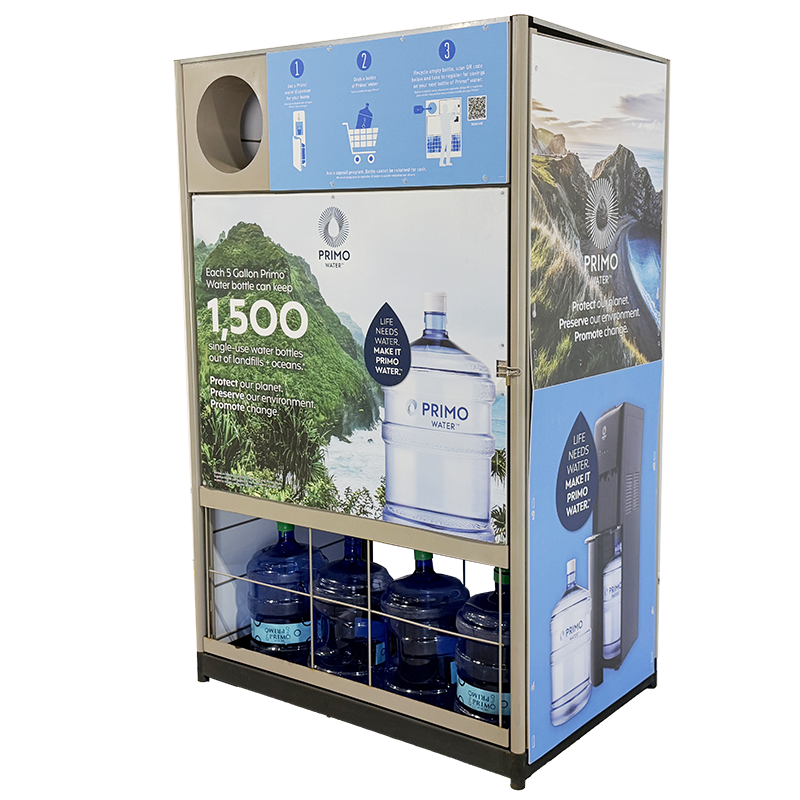
Return Center
STEP 3. Installation of Return Center
*If the store received a Return Center with a printer installed, see these instructions instead: Install Return Center with Printer
1: Check the Scope of Work under Buyer’s Custom Fields in your Work Order. If something needs to be moved, do so now (ask a store employee for help if it’s merchandise). If an existing PrimoWater display needs to be moved, you will need to remove all water jugs in order to shift it. The store may receive a unit with different Primo Brands (ie. Arrowhead, Poland Springs, Zephyrhills, Deer Park, etc). All instructions are exactly the same regardless of the branding.
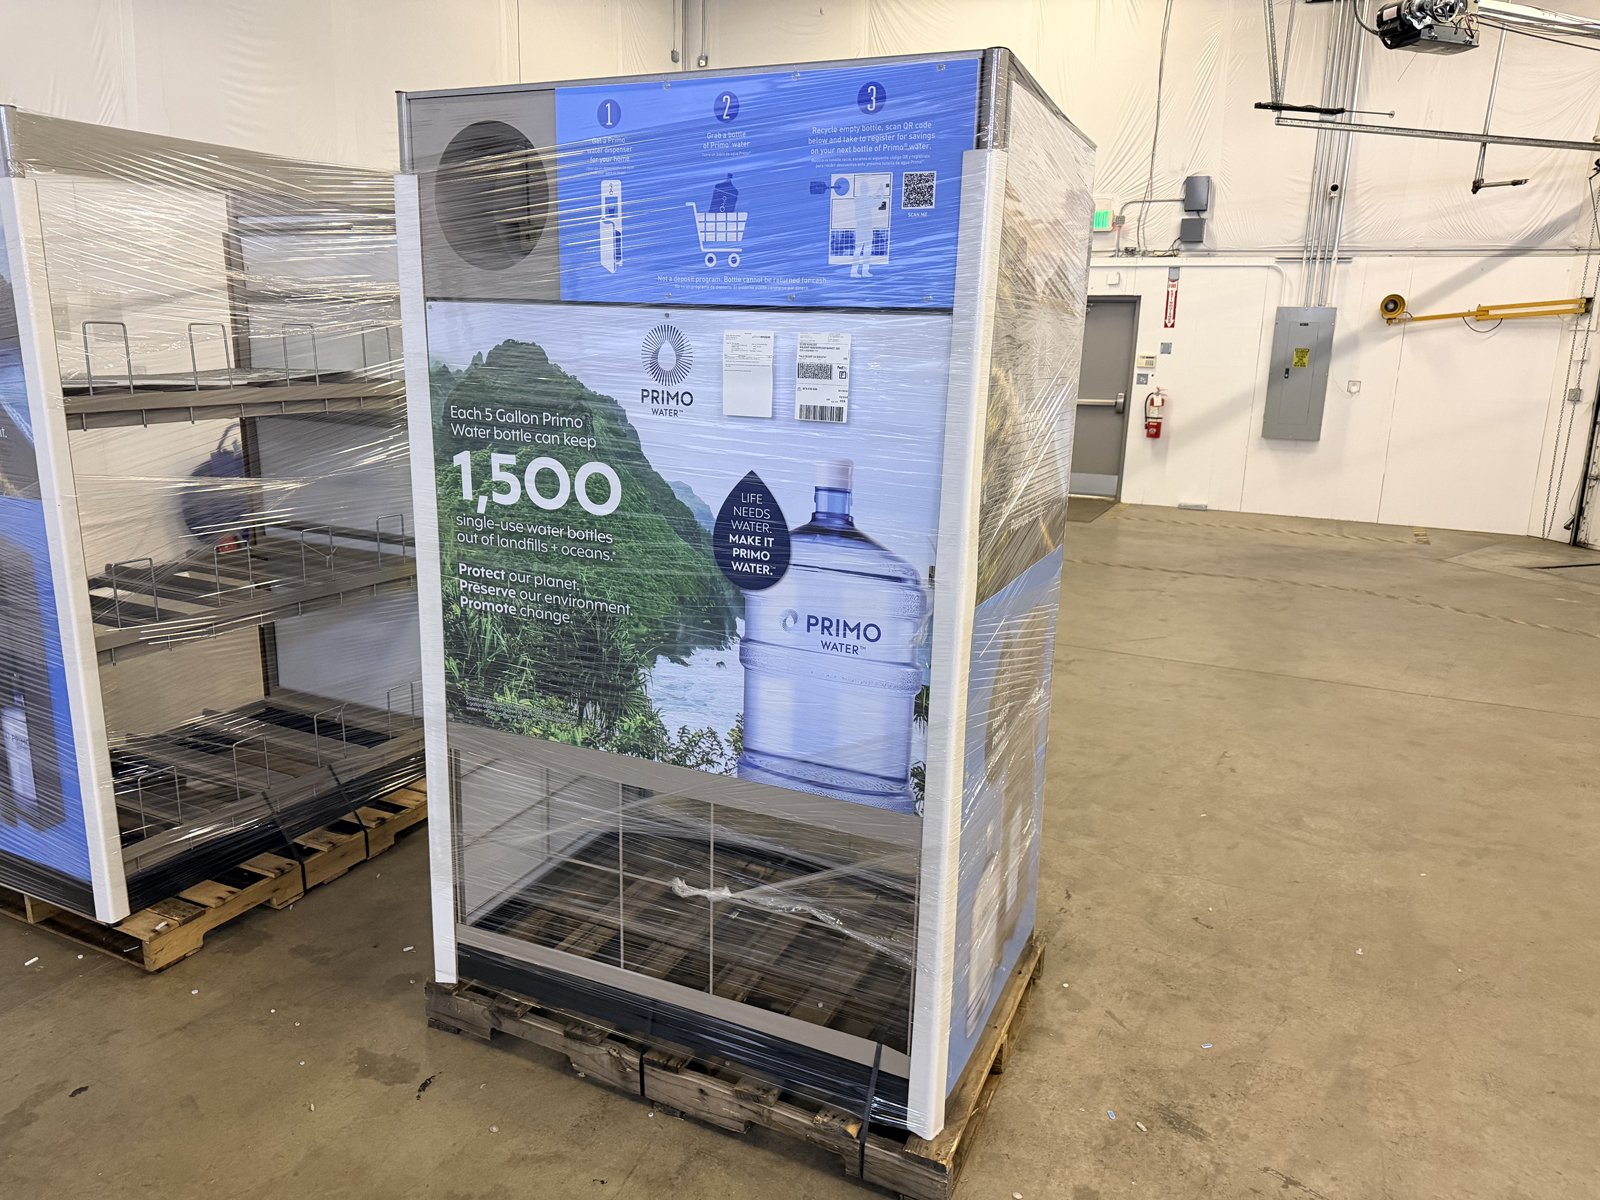
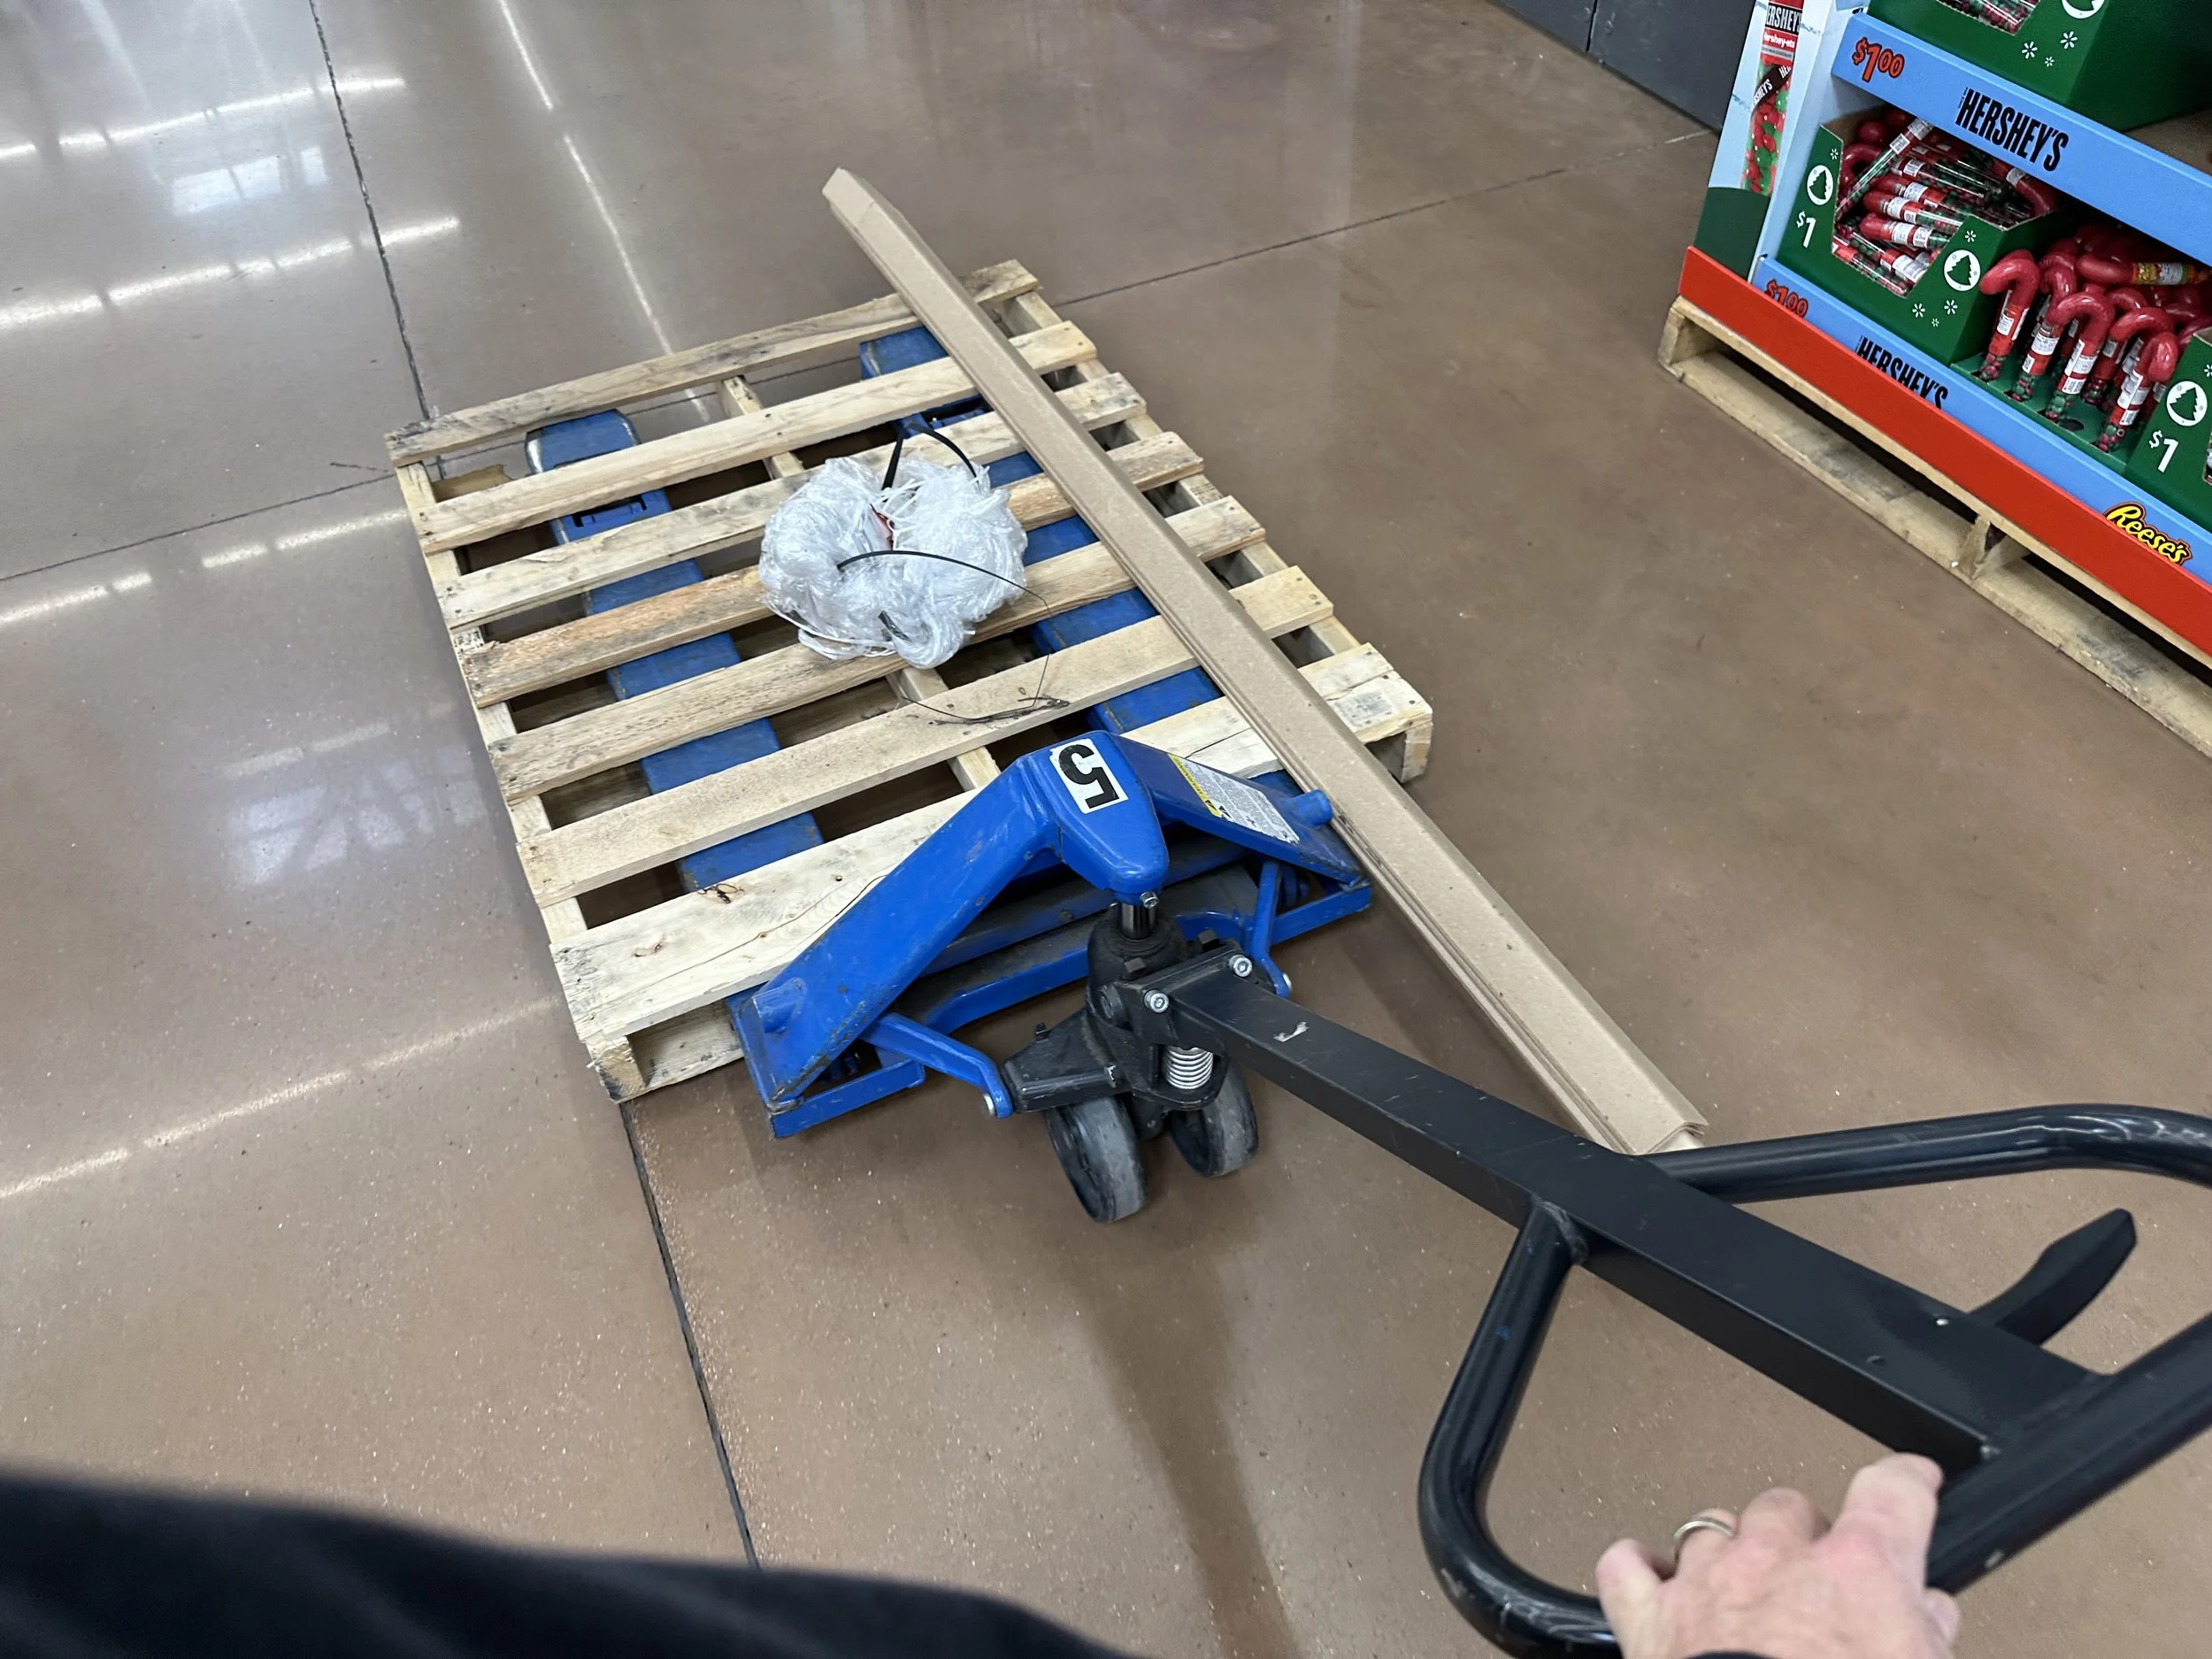
2: Slide the Return Center off of the pallet in front of the install location. Move the pallet and pallet jack out of the way of customer traffic while you continue to work.
3: Using a box cutter, remove the plastic wrap and cardboard corner guards from the Return Center.
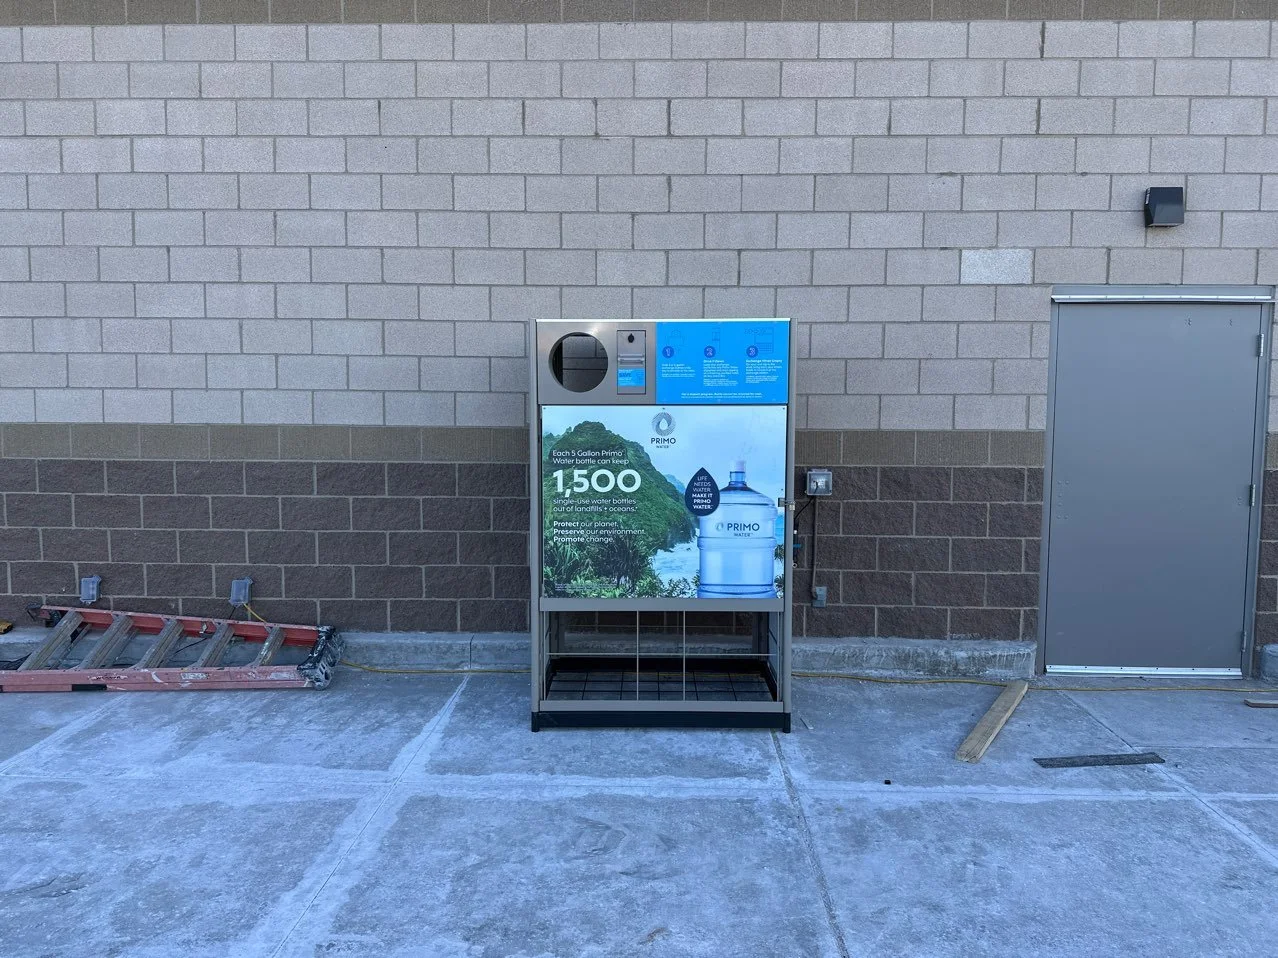
4: Slide the Return Center into position of the Install Location. If placed next to an existing display, align the front edges and butt it up next to the other display.
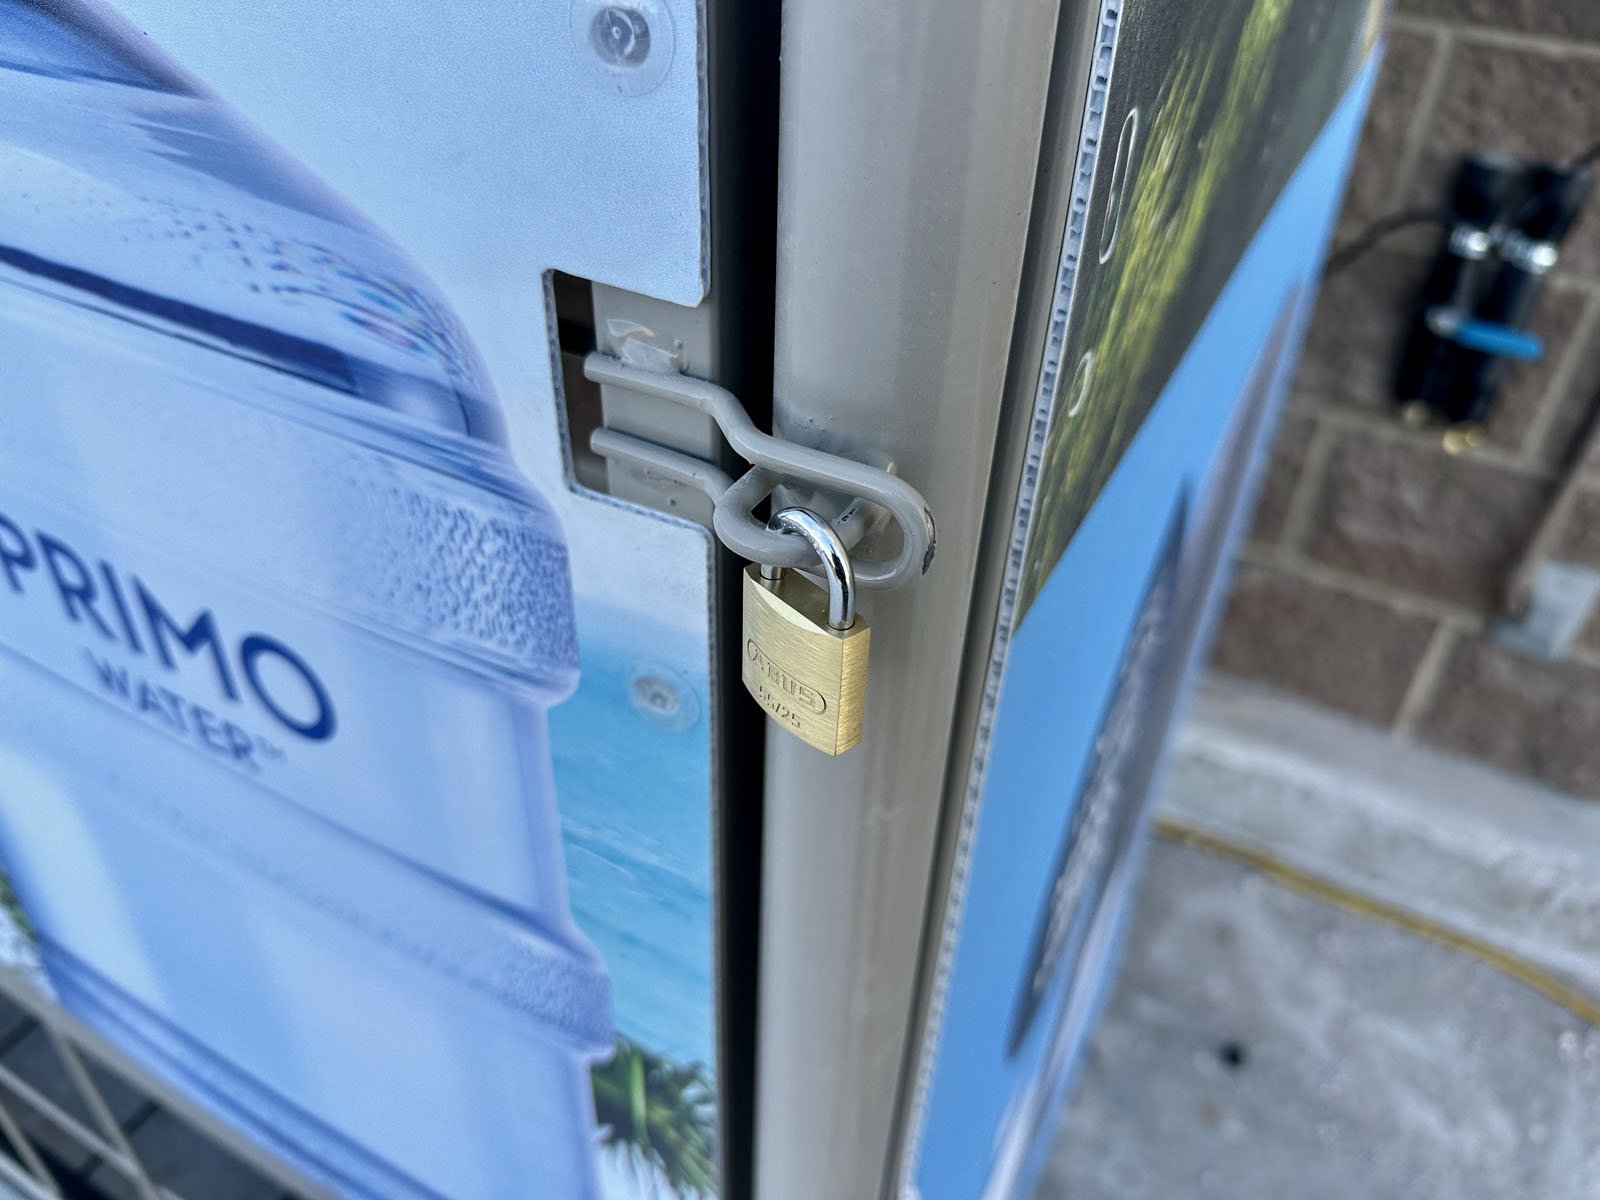
5: Confirm the front door is closed and locked. A small pad lock was shipped inside the unit. Install the padlock on the front door.
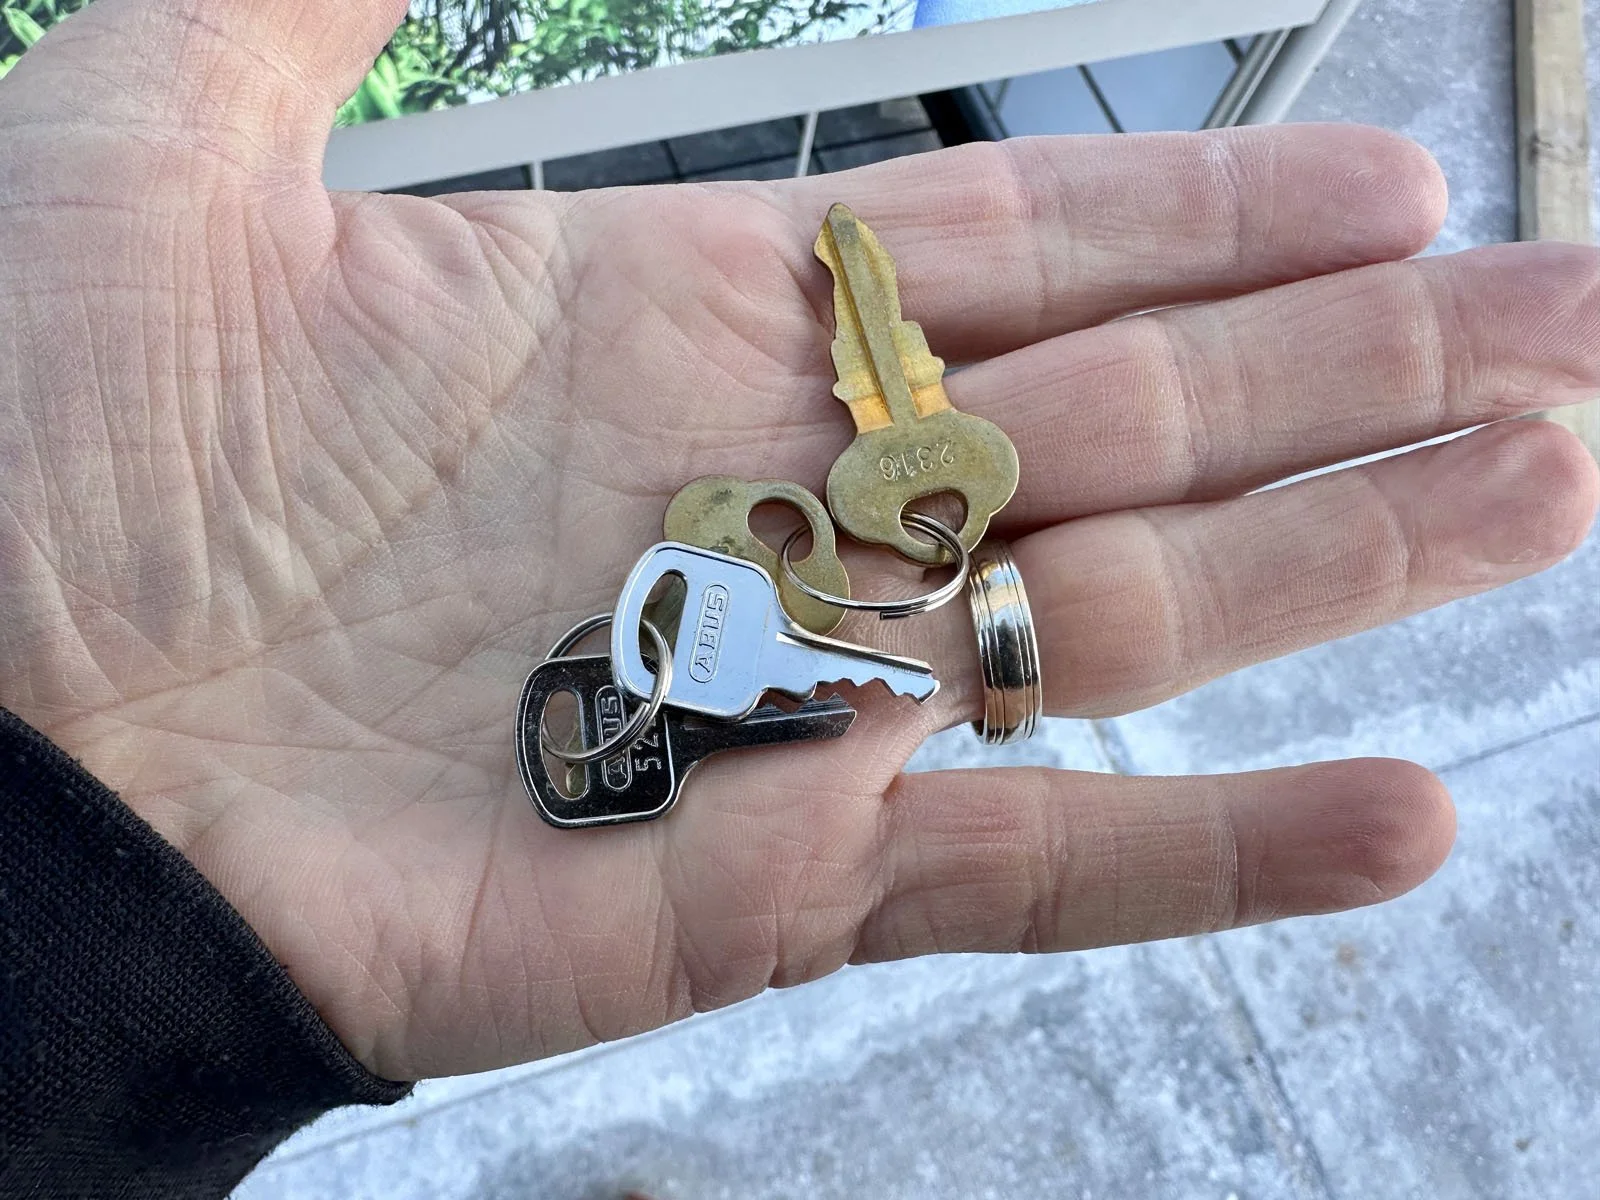
6: Give the padlock keys to Customer Service or Manager for them to keep.
7: Clean up the site and return the pallet and pallet jack to the Receiving Area. You will need to return to the install location to complete Step 5 (Install Verification Form).
Return to main Installs page to continue instructions.