Signage replacement on a Display
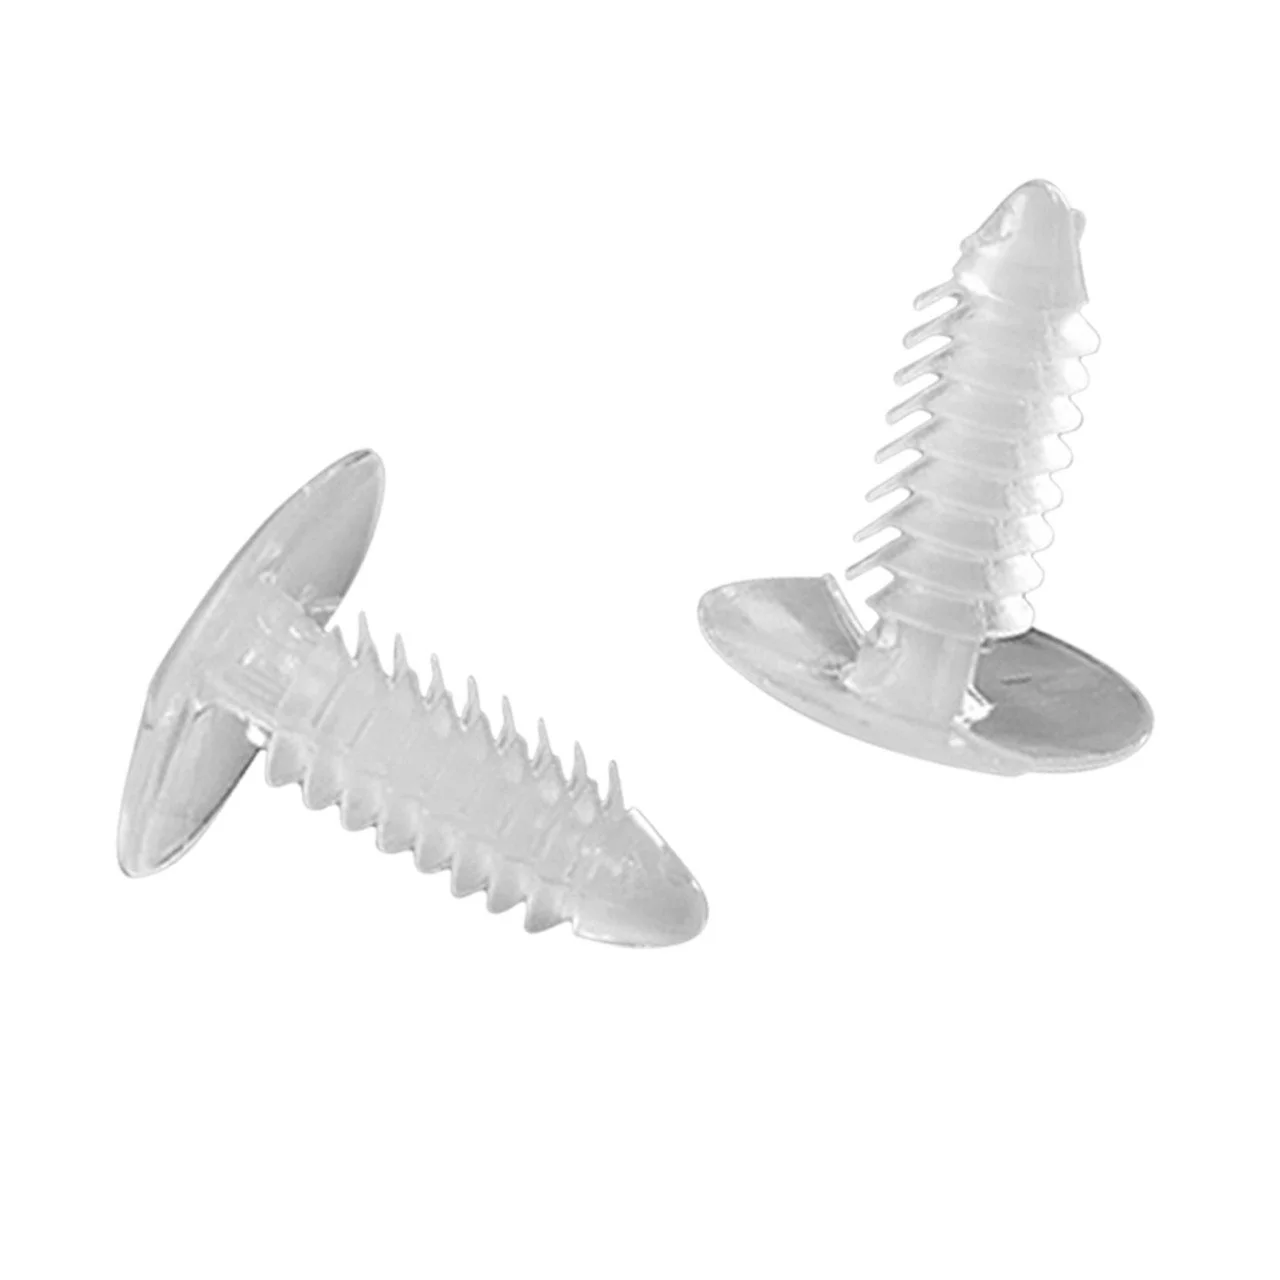
Provided in Shipment: Combination of header, shelf strips and side panels with push-in clips.
Tools Required: Pliers.
1: Review your work order and open your shipment in order to determine what signage has been sent to you. You may be replacing just one sign or the entire set. You may receive signage of different Primo Brands (ie. Poland Spring, Zephyrhills, Deer Park, etc). All instructions are exactly the same regardless of brand type.
2: Remove the existing signage by removing the push-in clips using pliers for each sign you’re replacing. Tip: It’s easier to break off the backside of the clip first using pliers, then remove it.
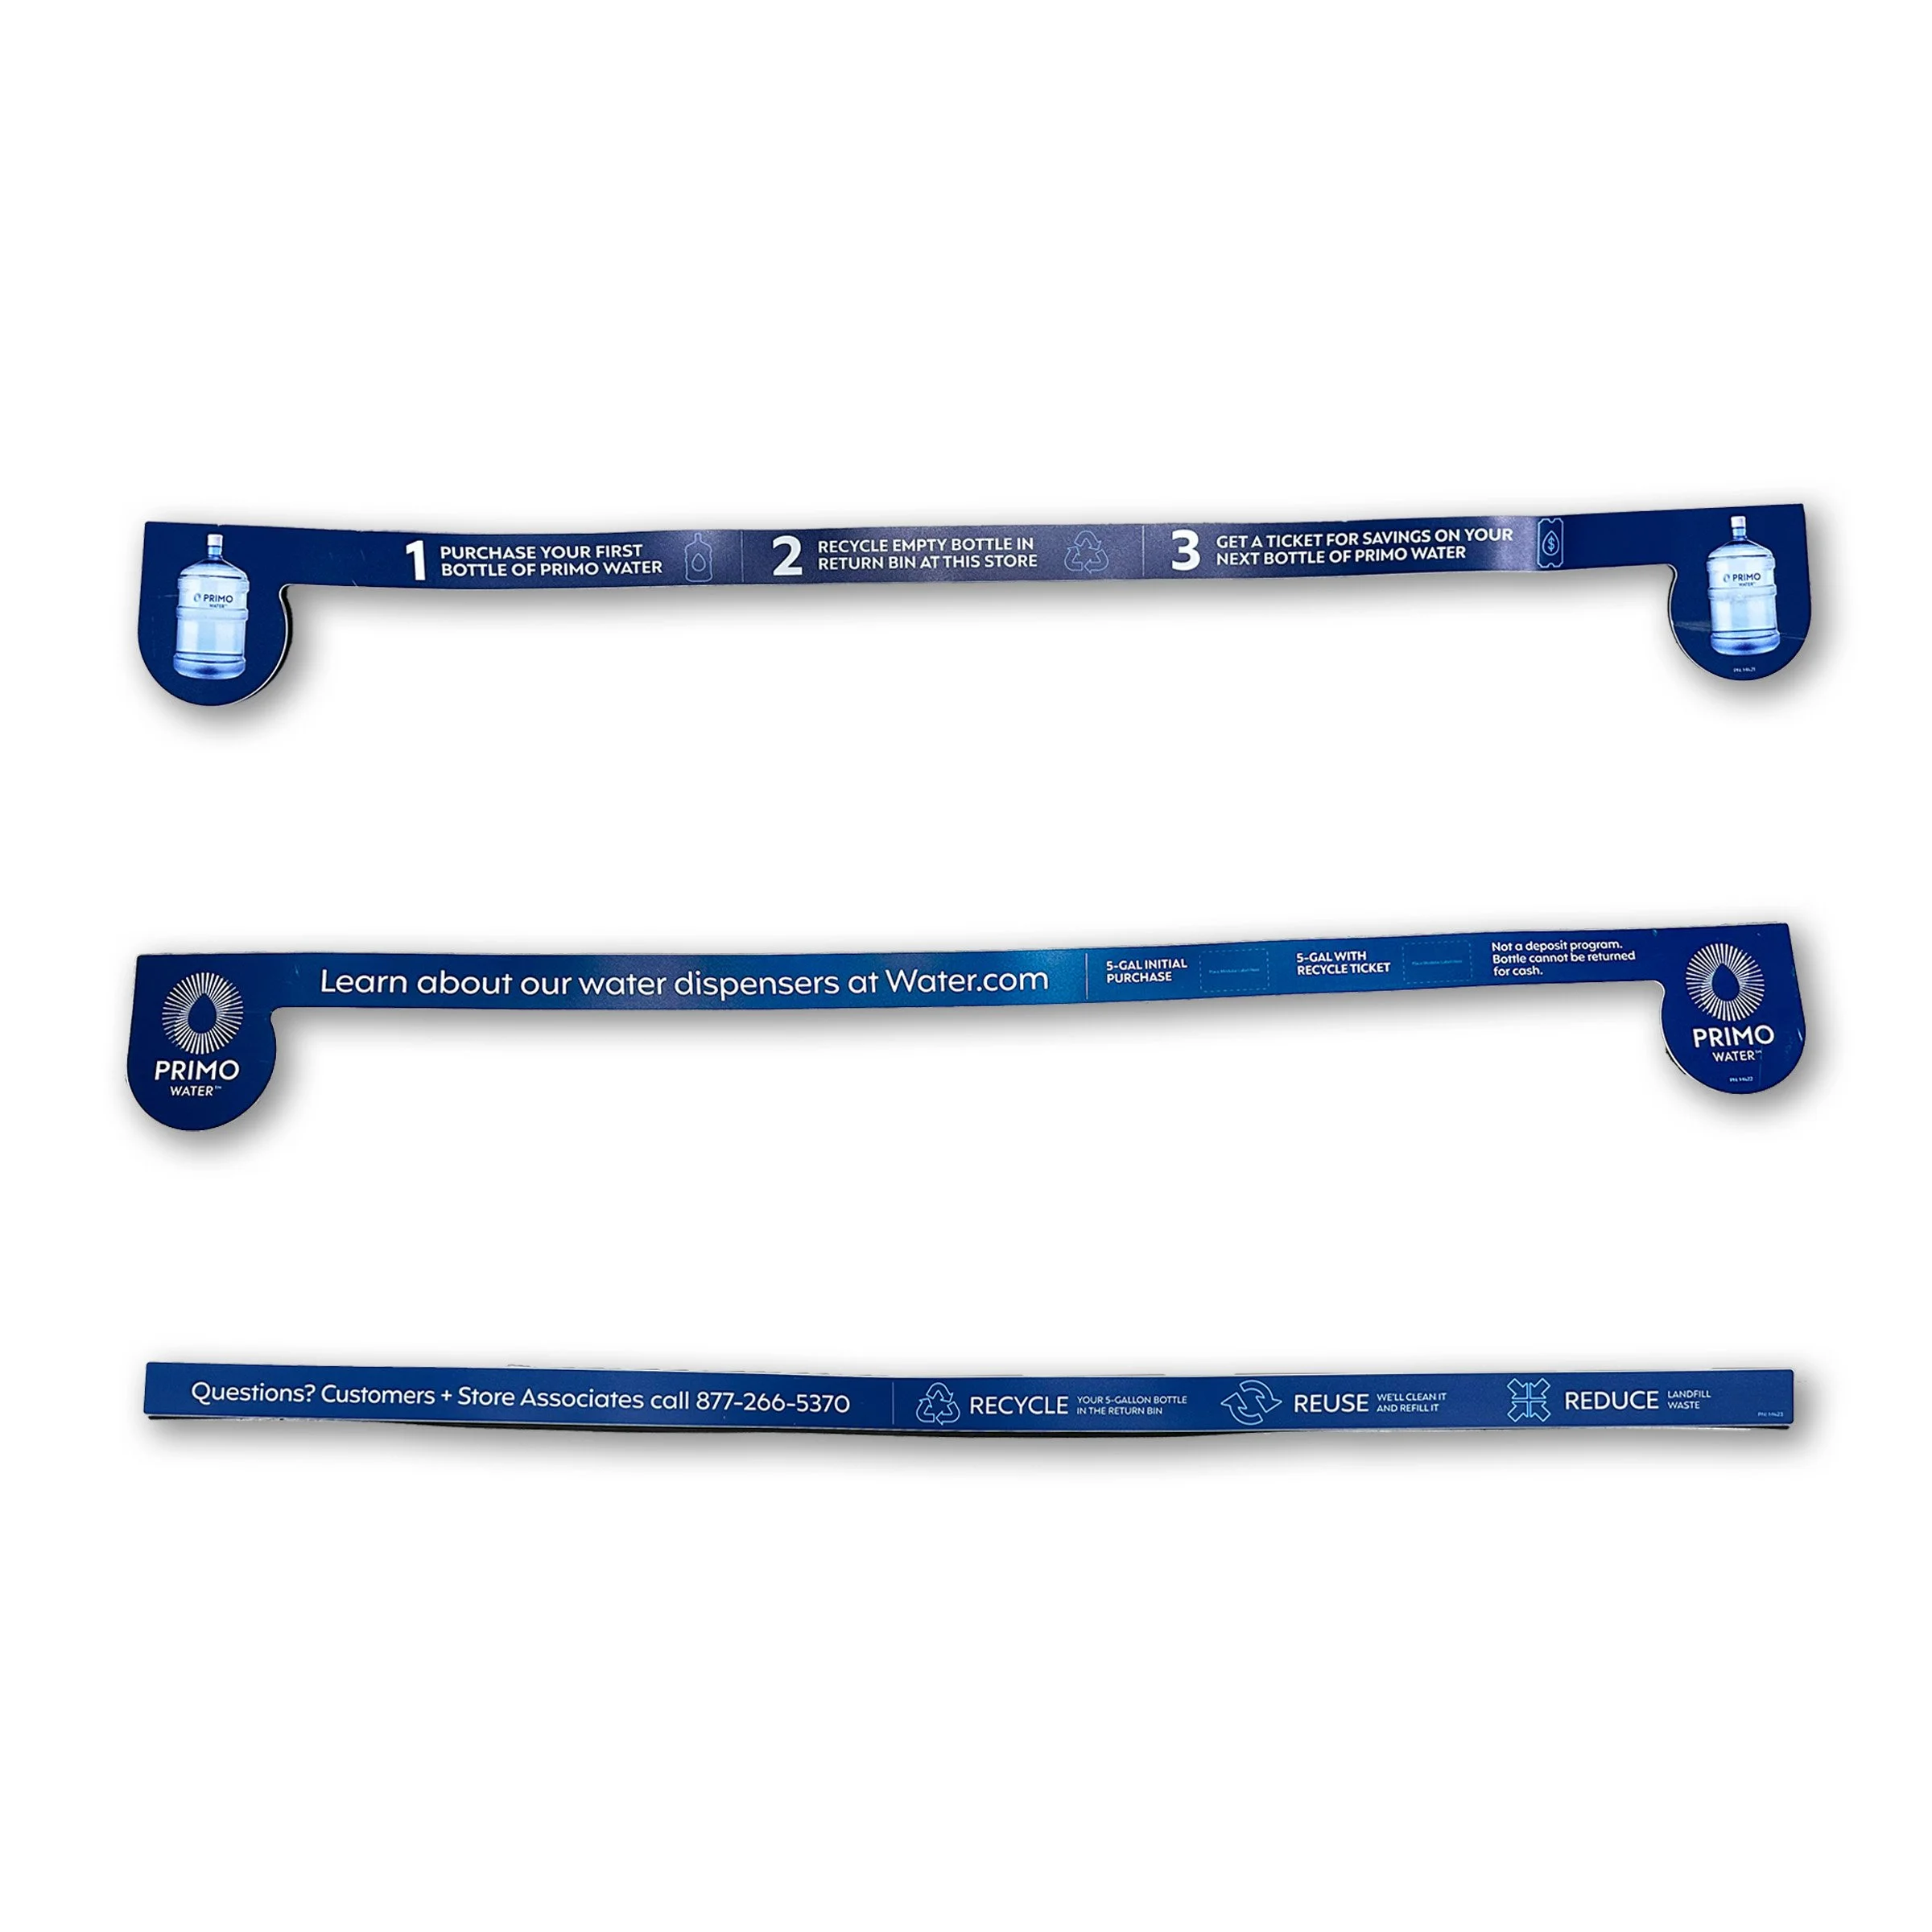
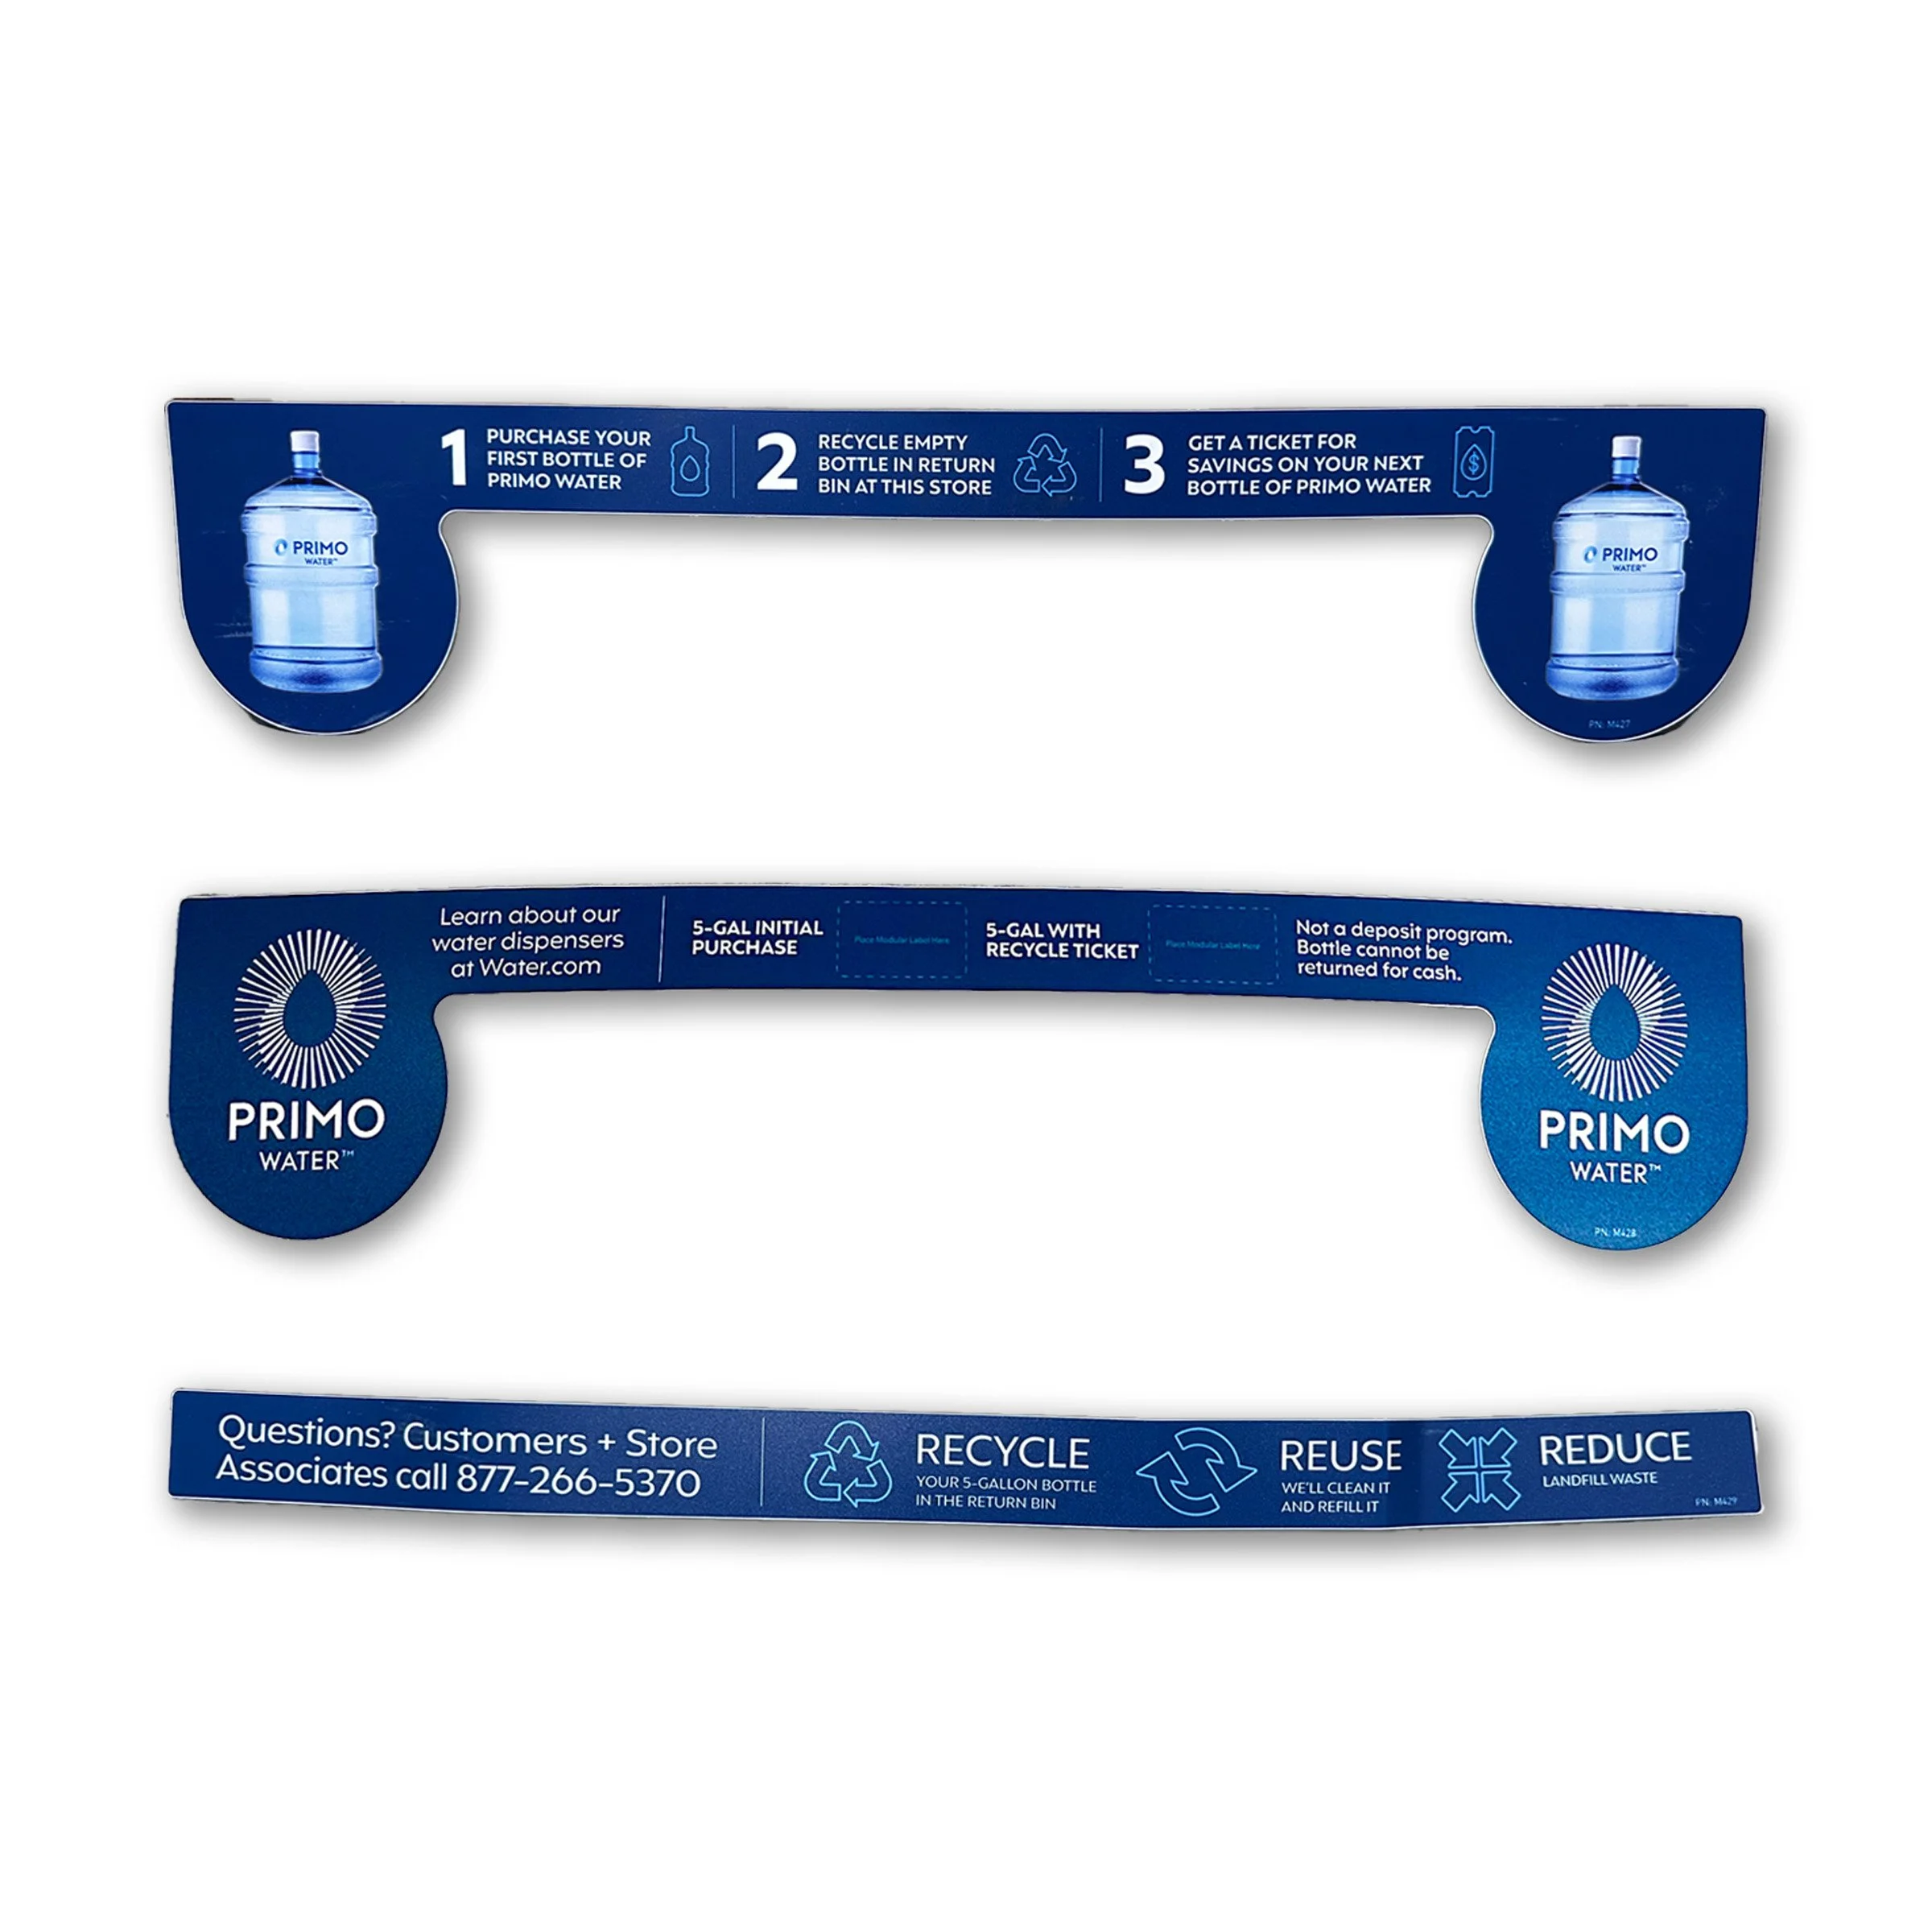
3: Attach new signage and shelf strips (photos of individual parts below).
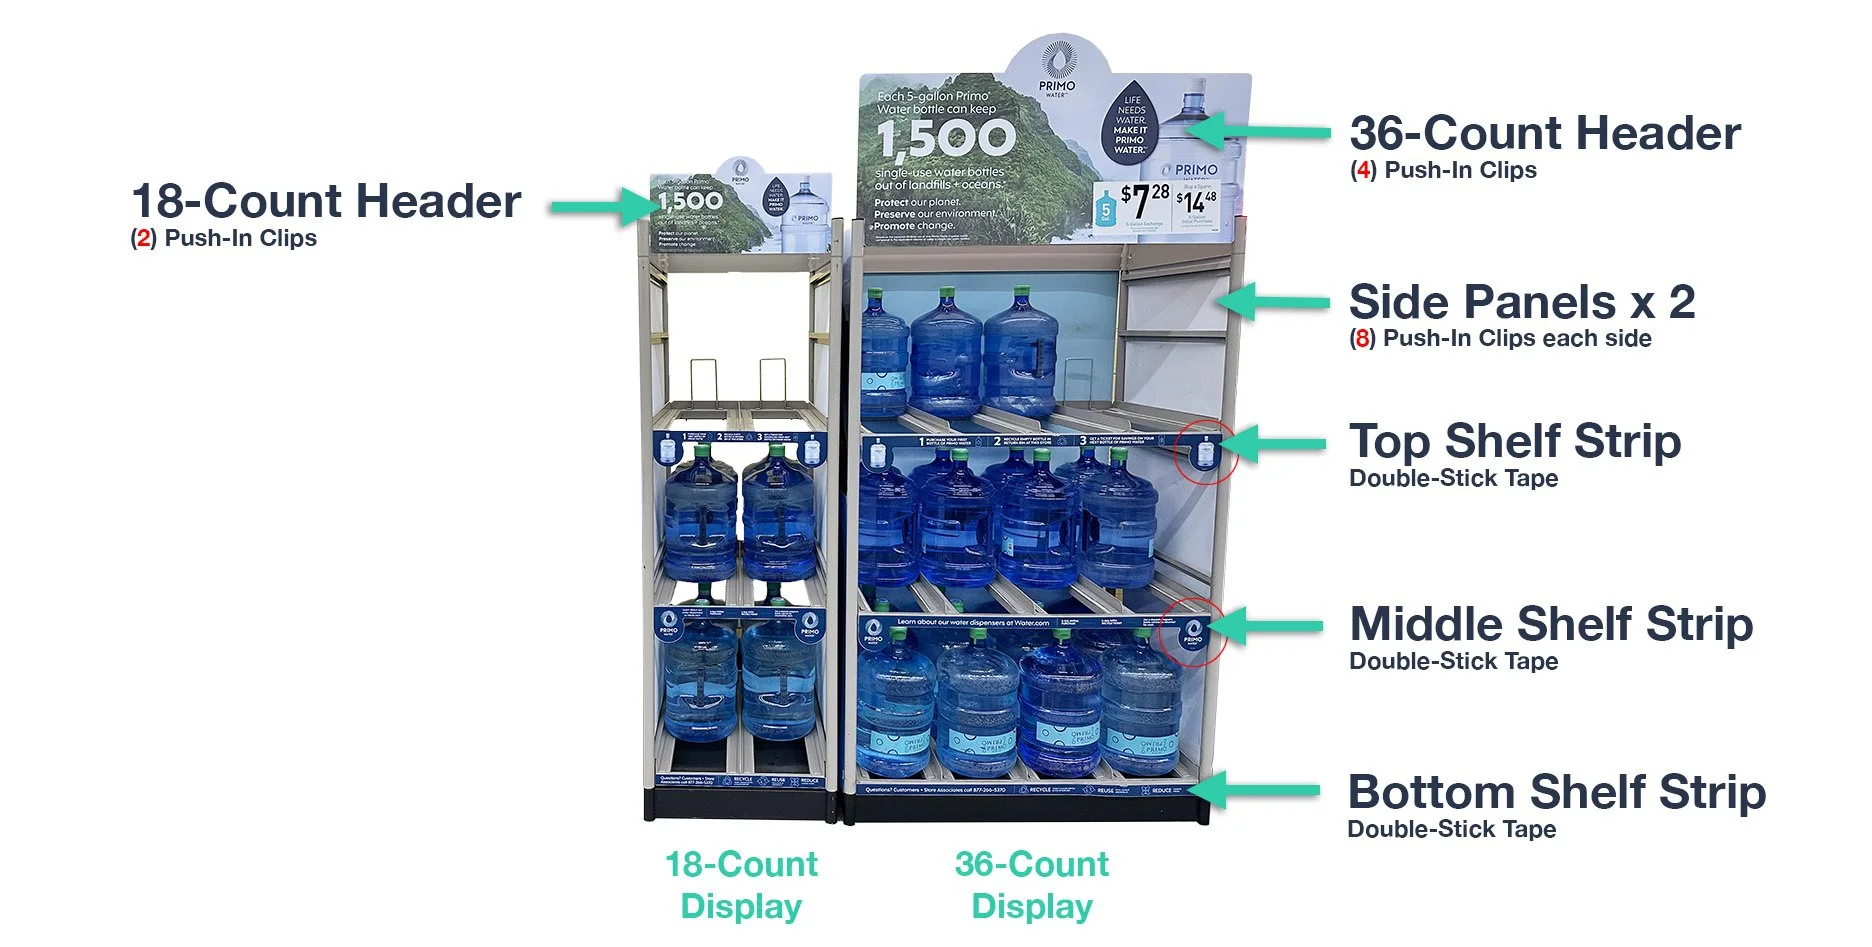
Shelf Strips: Must be installed in the correct order. Remove the backing and apply to the front of each shelf. Top shelf strips have water bottles at the end of each strip. Middle shelf strips have the PrimoWater logo at the end of each strip. Bottom shelf strips are straight across with nothing and the end of each strip.
Side Panels: These come folded in half - unfold to install with 8 clips on both sides of the display. Note: If the display is adjacent to other displays or machines, you will need to remove the water jugs, slide out the display, then replace the side panels. Slide it back into position and replace the water jugs.
Header: Look for the holes across the bottom of the header and align with holes in the top bar. 36-Count uses 4 clips and 18-Count uses 2 clips.
4: Clean up the area. Dispose of the old signage in the back of the store, typically in their receiving area.
5. Complete your Verification Form in FastField mobile app (Apple or Android). Your username and password can be found in Field Nation under the Buyer’s Custom Fields.