Signage replacement on a Return Center
Provided in Shipment: Combination of top sign, door sign and side panels with push-in clips. Could be one or a full set.
Tools Required: Pliers, Rubber Mallet (preferred) or Hammer.
1: Review your work order and open your shipment in order to determine what signage has been sent to you. You may be replacing just one sign, the front or the entire set. You may receive signage of different Primo Brands (ie. Poland Spring, Zephyrhills, Deer Park, etc). All instructions are exactly the same regardless of brand type.
2: Remove the existing signage by removing the push-in clips using pliers for each sign you’re replacing. Tip: If you can reach it, it’s easier to break off the backside of the clip first using pliers, then remove it.
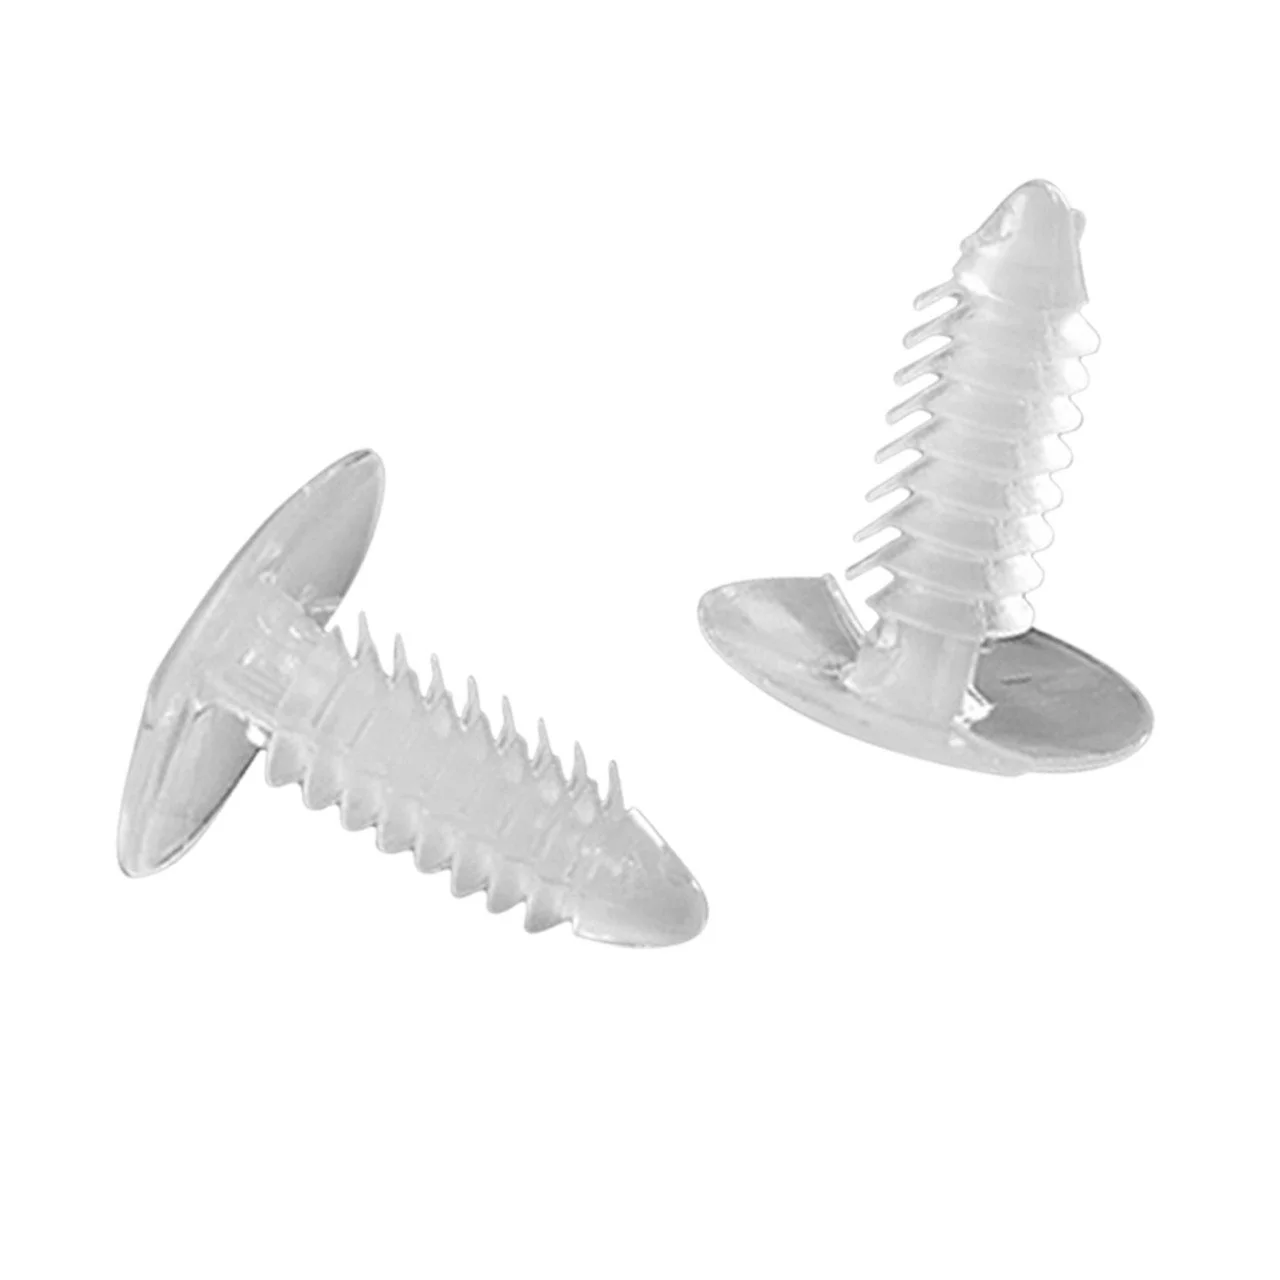
3: Attach new signage using the new push-in clips provided (photos of individual parts below). If clips are difficult to push in, use a rubber mallet to gently hammer in the clips (be careful, the clips can easily break).
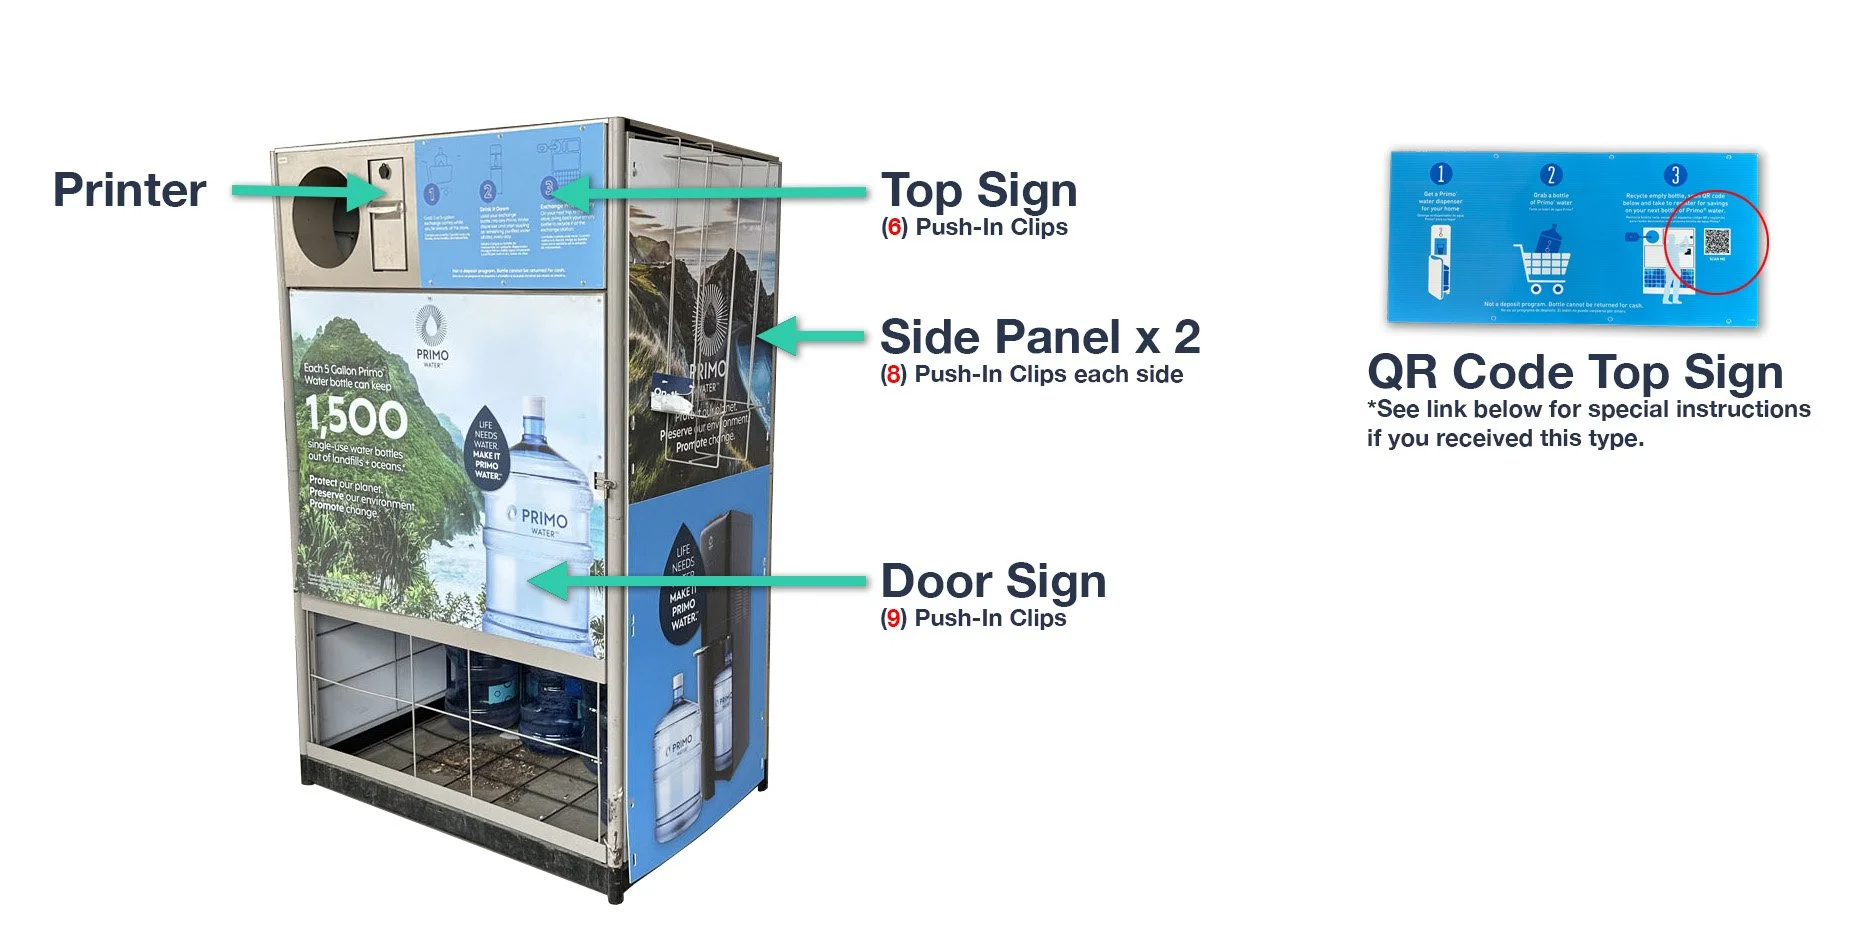
Top Sign: Attach above the door with 6 clips.
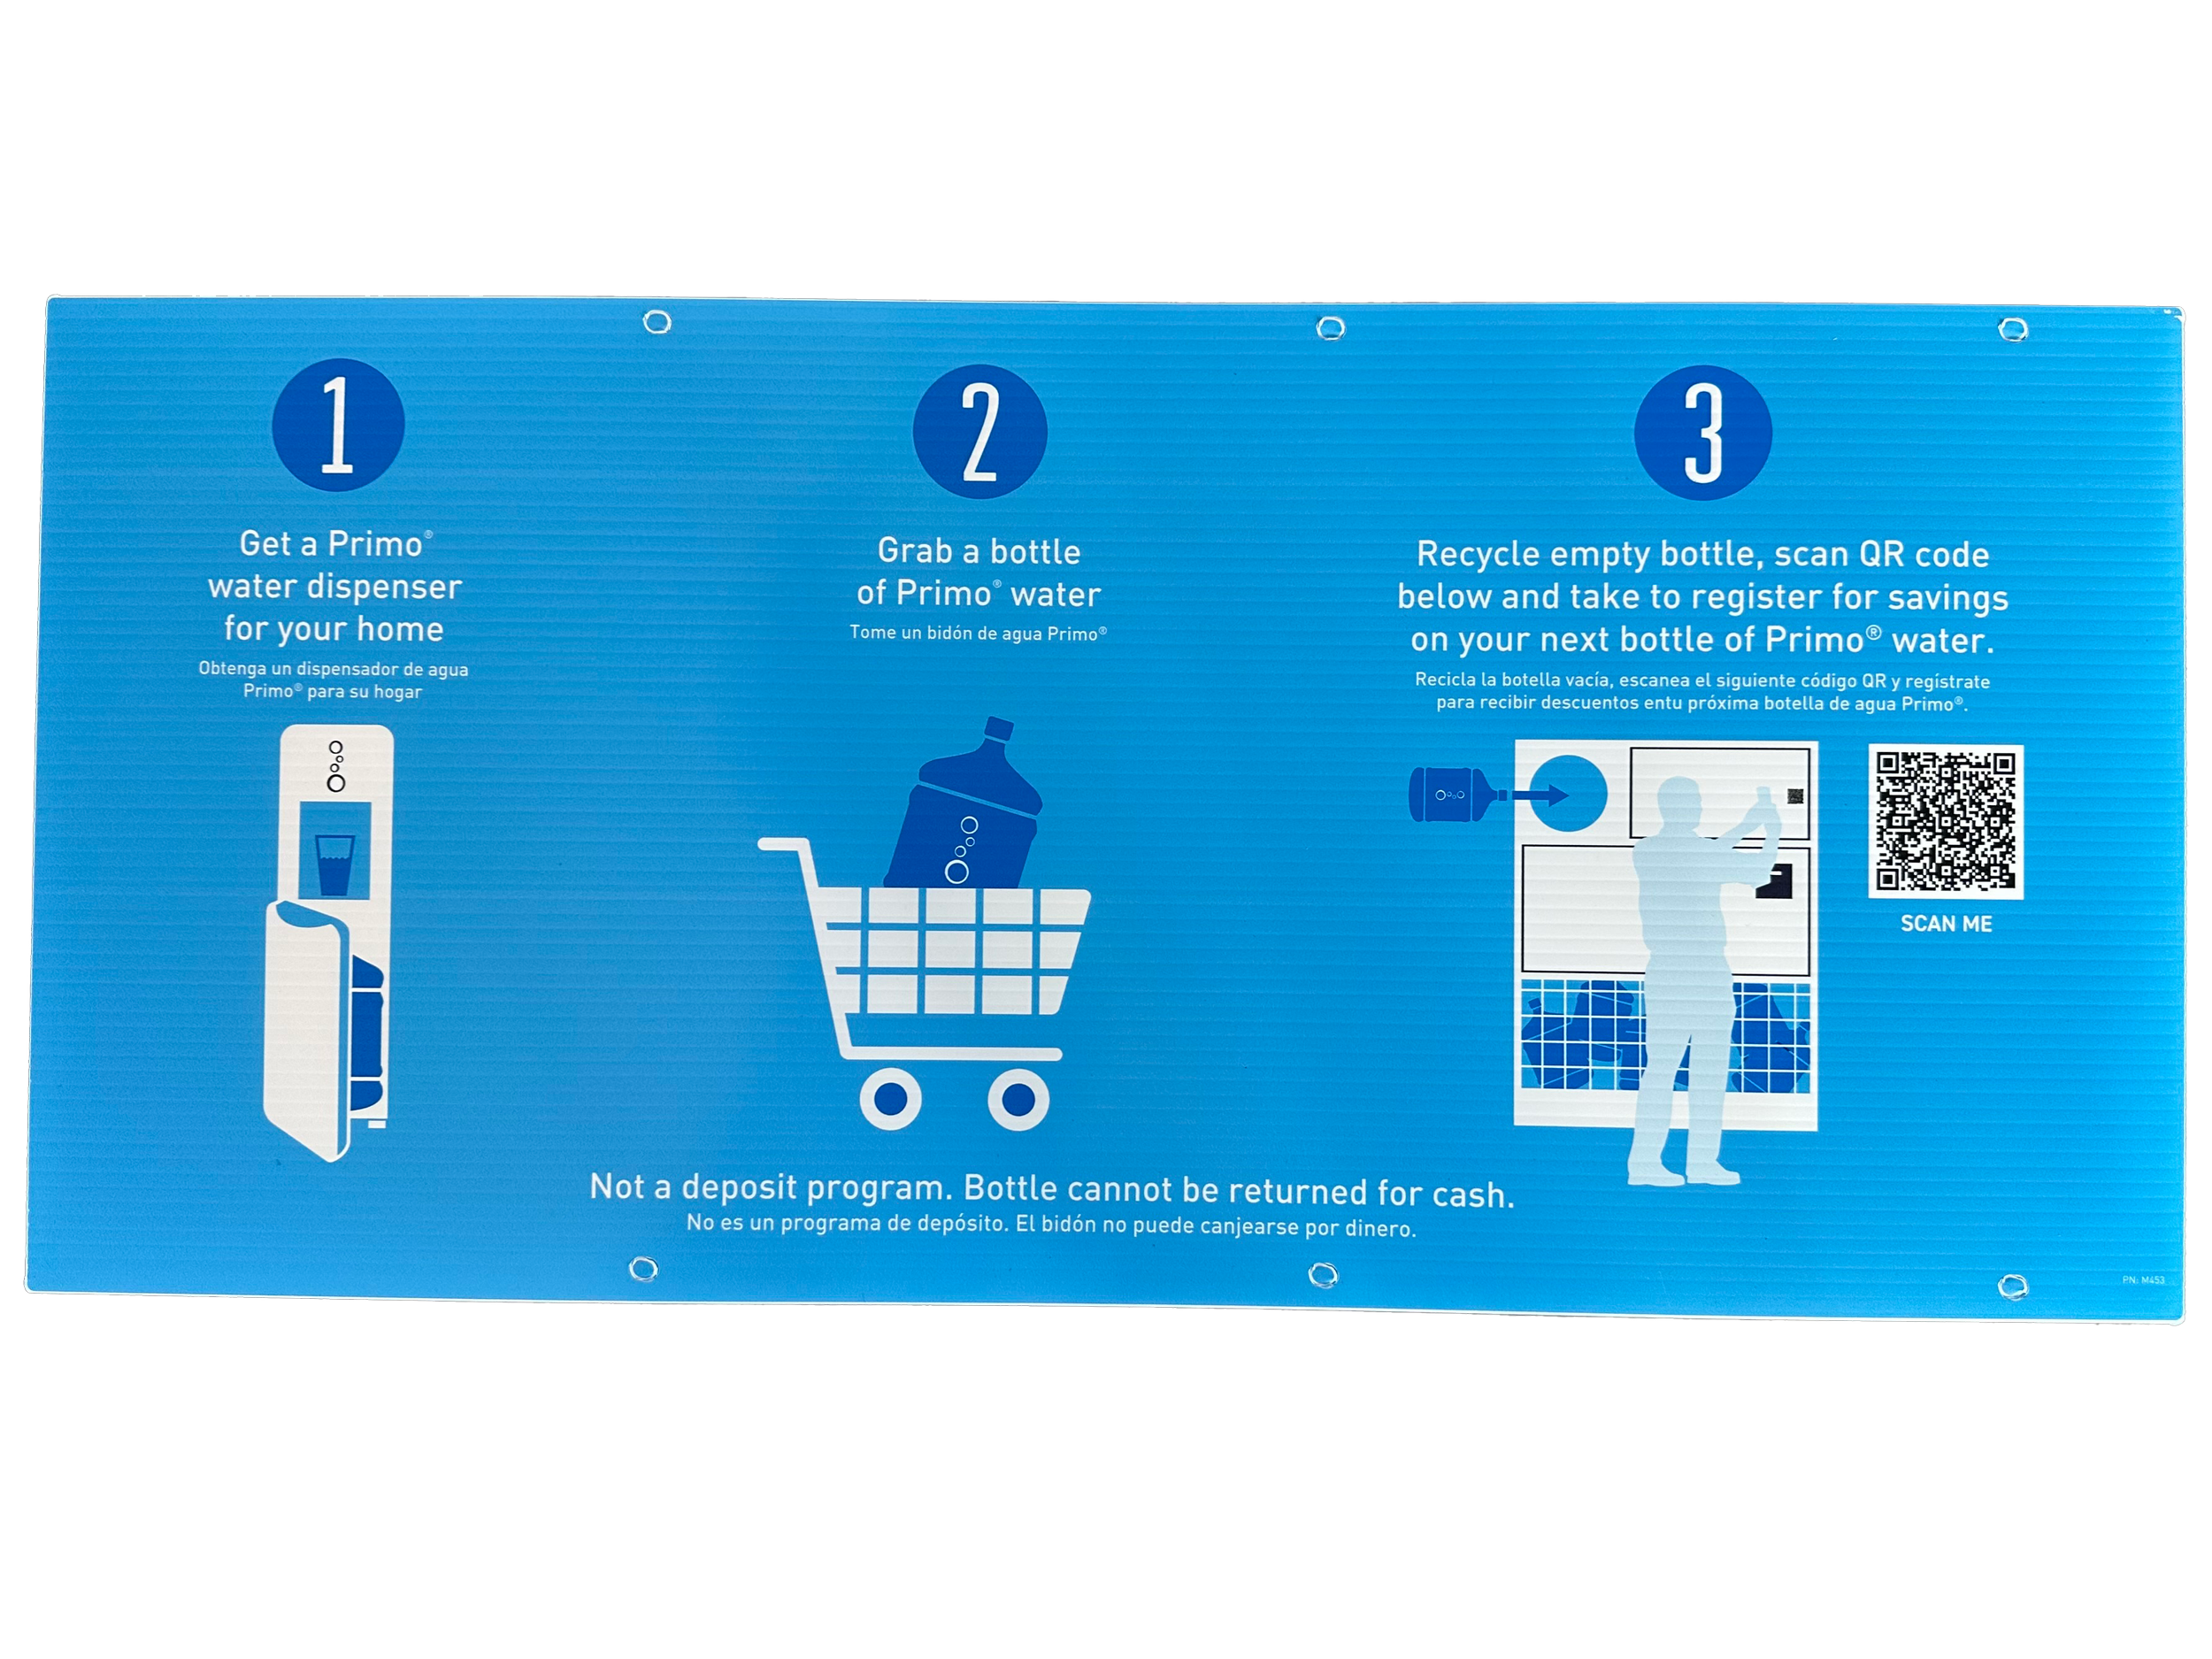
➡ Important: If you were sent a new QR Code Top Sign (has a QR code on the right end, also covers the printer slot), you must also follow instructions for QR Code sign swap and printer removal.
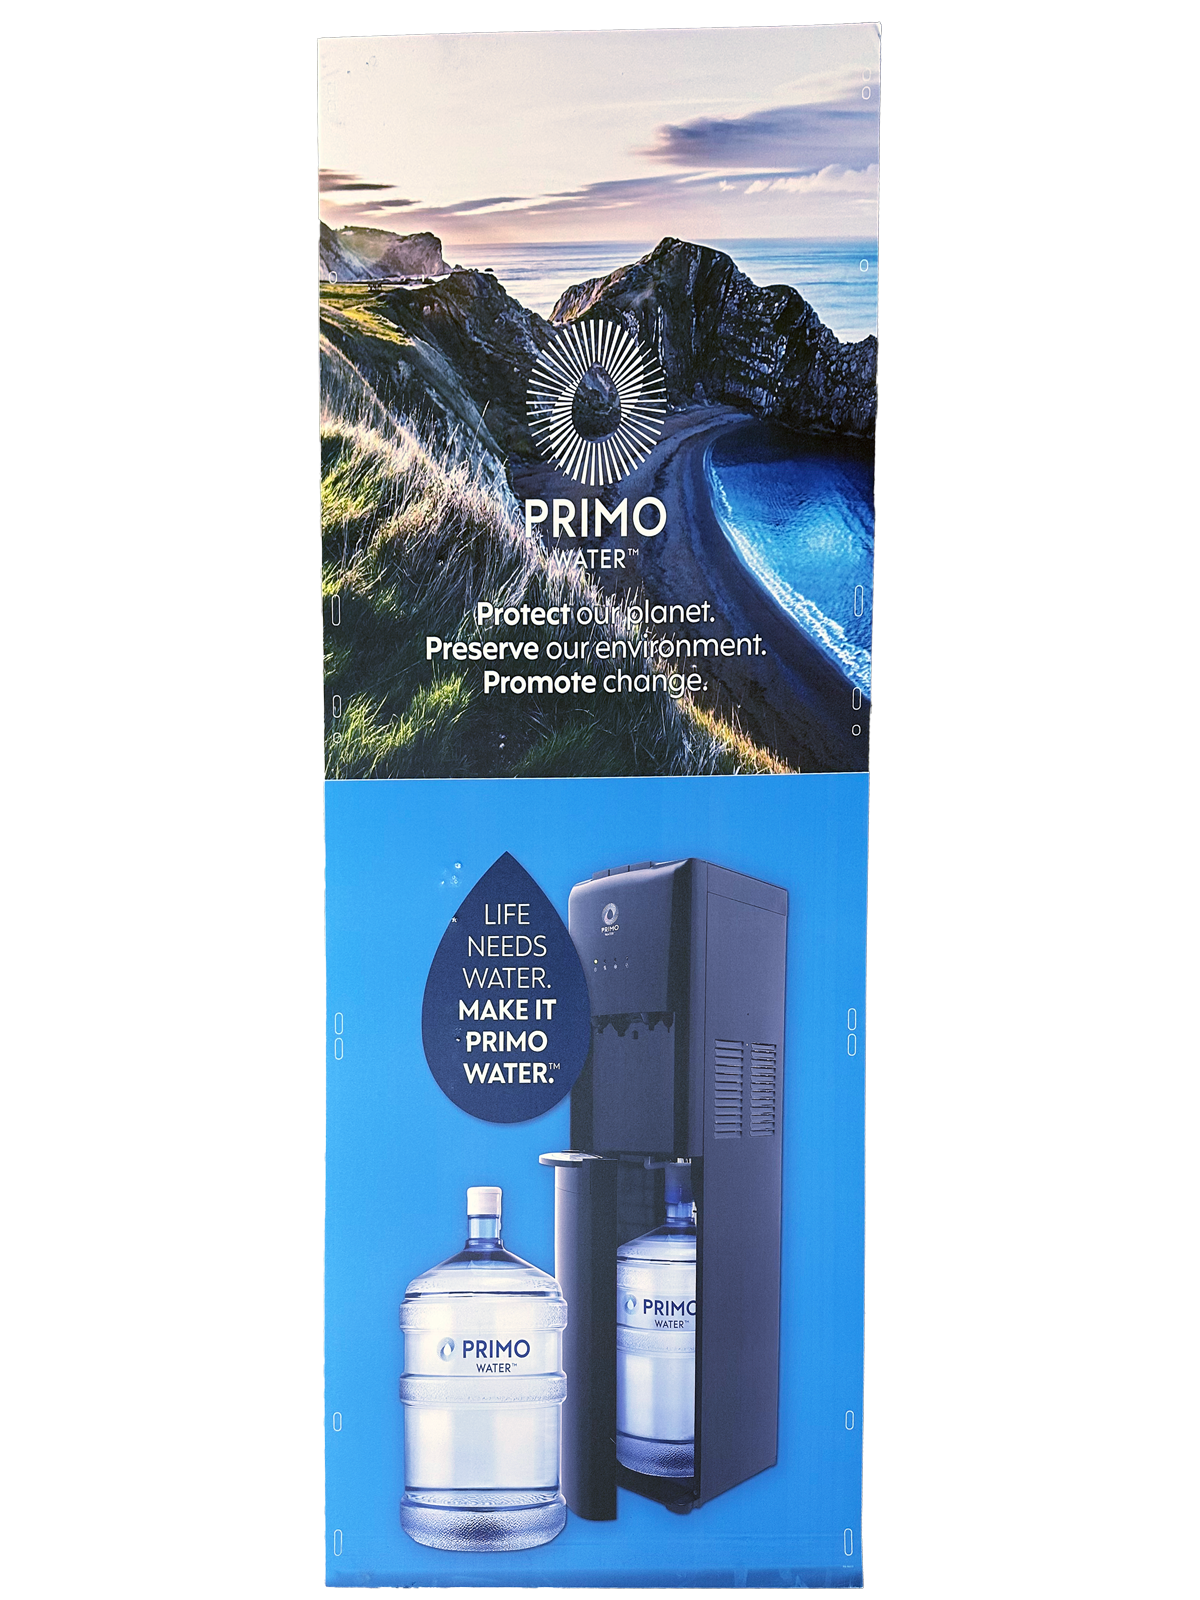
Side Panels: These come folded in half - unfold to install with 8 clips per side. If the Return Center is adjacent to other displays or machines, you will need to slide it out, then replace the side panels.
Door Sign: Attach to the front door using 9 clips.
4: Clean up the area. Dispose of the old signage in the back of the store, typically in their receiving area.
5. Complete your Verification Form in FastField mobile app (Apple or Android). Your username and password can be found in Field Nation under the Buyer’s Custom Fields.
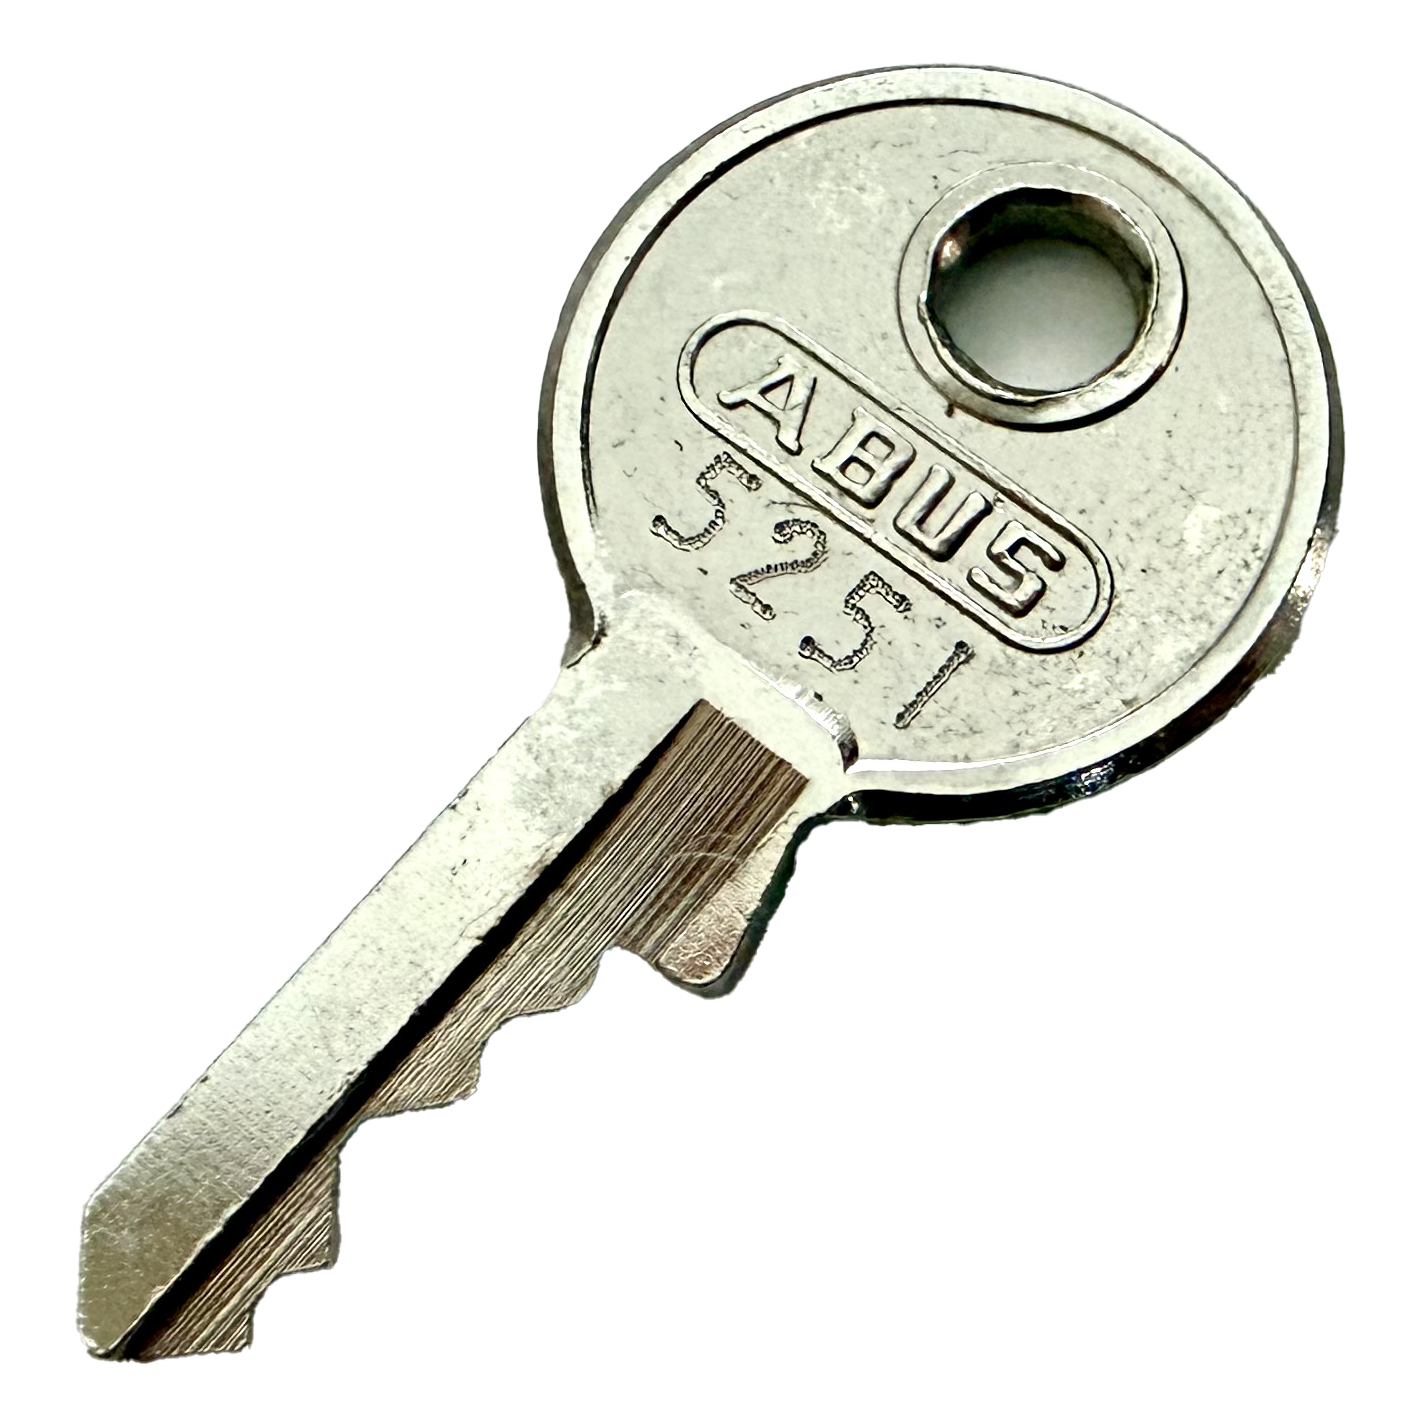
6. If you received a padlock key, place the key in the provided pre-stamped envelope and drop it in your mailbox to return to KSG. If you have a bundle of work orders, return the key as soon as your bundle is complete.